Learn how to make bakery-quality chocolate brownies at home. This recipe makes fudgy, rich brownies with easy ingredients. It’s perfect for both beginners and experienced bakers.
Homemade brownies are always better than store-bought ones. They offer fresh, customizable flavors. This guide will help you make moist, decadent brownies every time.

Key Takeaways
- Master a foolproof brownie recipe with guaranteed fudgy texture
- Learn ingredient choices that transform ordinary brownies into chocolate desserts worth sharing
- Get tips for avoiding common baking mistakes
- Discover easy ways to customize your homemade brownies
- Understand how to store and serve perfectly every time
Introduction to the Perfect Chocolate Brownies
There’s nothing like the joy of pulling warm, gooey homemade brownies from the oven.
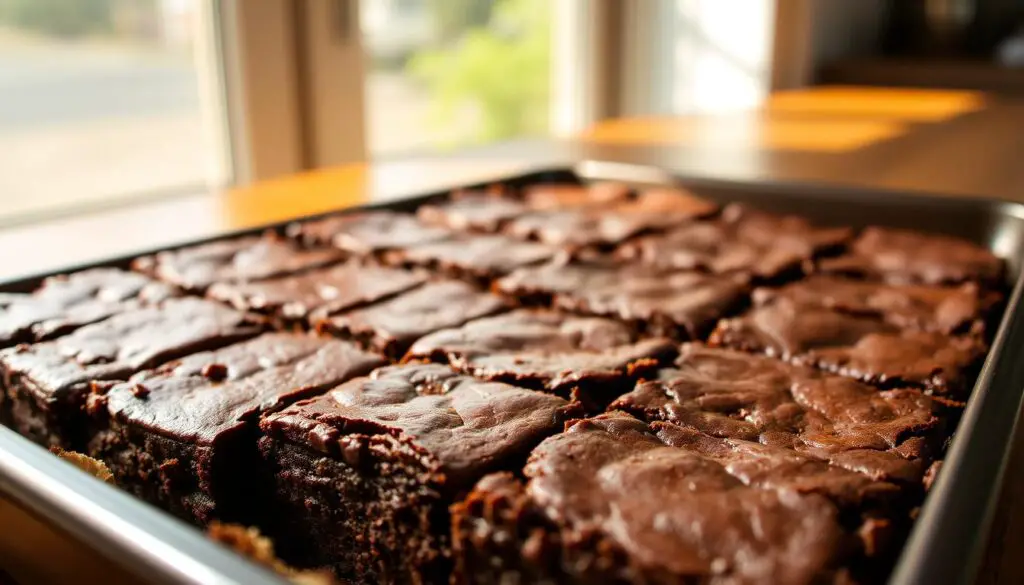
aren’t just a treat—they’re a gateway to baking confidence. Let’s explore why making homemade brownies at home wins over store-bought options every time.
Why Homemade Brownies Beat Store-Bought Every Time
Store-bought versions often lack the depth of flavor and texture of a freshly baked batch. When you make bakery-style brownies yourself, you control the ingredients. Add extra chocolate, swap in nuts, or experiment with mix-ins—all while avoiding preservatives. The result? A dessert that tastes like love, not a factory line.
What Makes This Recipe Special
This recipe achieves a signature crackly top and a fudgy center without overcomplicating steps. It uses precise measurements and a smart cooling technique to lock in moisture. Whether you’re a baking novice or a chocolate enthusiast, the method ensures perfect brownies every time. No guesswork, no disappointment.
Who Will Love These Brownies
- Chocolate lovers craving intense, melt-in-your-mouth richness
- Beginners seeking a foolproof chocolate dessert recipe
- Hosts needing a showstopper for parties, potlucks, or gift baskets
- Anyone who believes dessert should taste homemade, not boxed
These homemade brownies aren’t just a recipe—they’re a celebration of flavor and simplicity. Ready to bake like a pro? Let’s dive into the details.
The Rich History of Chocolate Brownies in American Baking
Traditional brownies have a fascinating history. One story says they were made by accident at Chicago’s Palmer House Hotel in the 1890s. A guest forgot to add walnuts to a dessert.
Others believe Fannie Farmer’s 1906 Boston Cooking-School Cook Book was the first to publish a recipe for “
Brownies (chocolate)
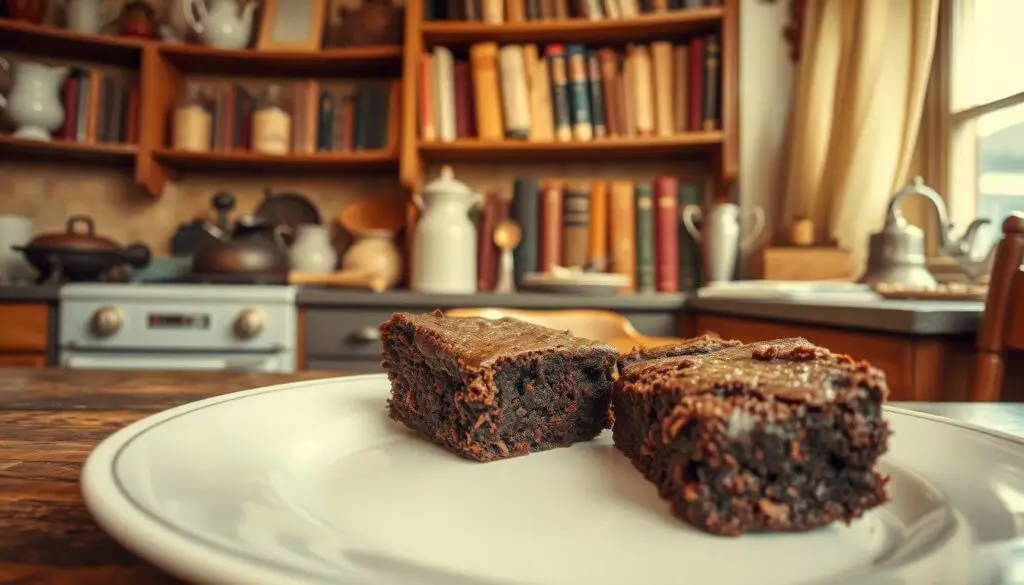
As these treats became popular, chocolate baking evolved. By the mid-20th century, boxed mixes like Toll House and Betty Crocker made brownies easy to make. But, homemade versions are still cherished, passed down through generations.
Today, we see many variations of brownies. From gooey fudgy to nutty, they all connect to those early recipes. Every bite brings together nostalgia and innovation. Whether made from a box or from scratch, brownies are a timeless part of American desserts, celebrating simplicity and indulgence.
Essential Ingredients for Decadent Chocolate Brownies
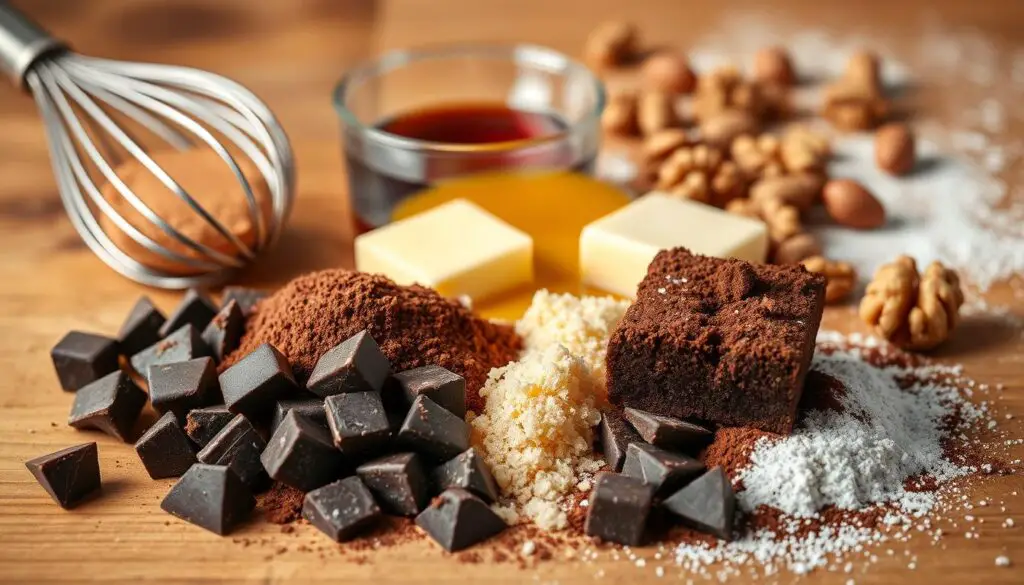
Every bite of fudgy brownies starts with the right ingredients. Let’s explore what makes gourmet brownies special, starting with the basics.
Choosing the Right Chocolate
Quality chocolate for baking is key. Use high-cocoa-content bars like Ghirardelli or Valrhona for deep flavor. Cocoa powder adds depth, while dark chocolate chips make them gooey. Choose 70% cacao or higher for a rich taste without bitterness.
Butter vs. Oil: Texture Secrets
- Butter: Adds buttery richness and structure
- Oil (e.g., canola or coconut): Keeps brownie ingredients ultra-moist
- Pro tip: Combine both for a hybrid texture
Sugar Options and Their Effects
Brown sugar keeps fudgy brownies moist, while granulated sugar adds sweetness. Mixing both gives a complex taste. But, avoid using honey unless you adjust the liquid.
Optional Add-ins to Elevate Your Brownies
Make gourmet brownies even better with creative add-ins:
- Espresso powder: Enhances chocolate flavor
- Tahini swirls: Adds nutty depth
- Coffee liqueur: For boozy fudginess
- Crisped rice cereal: Crispy contrast
Each choice turns simple brownie ingredients into amazing desserts.
Kitchen Tools You’ll Need
Every great batch of easy brownies starts with the right baking equipment. Even if your kitchen is modest, a few essentials ensure perfect results. Let’s break down what matters most.
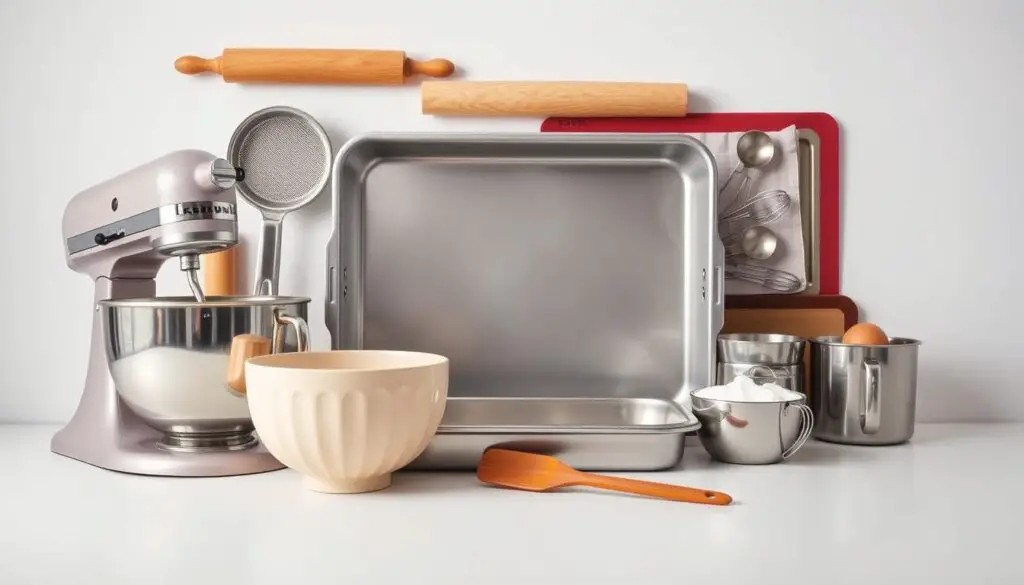
- Brownie pan: A 8×8-inch metal pan spreads heat evenly, but glass works too—just watch baking time closely.
- Mixing bowls: A medium bowl for dry ingredients and a larger one for combining everything. Stainless steel or glass are best.
- Measuring cups and spoons: Accurate measurements mean no lumpy batter. Invest in a set with clear markings.
- Spatula or whisk: A rubber spatula scrapes bowls clean; a whisk blends ingredients smoothly without overmixing.
Optional baking tools like parchment paper save cleanup time. A cooling rack lets brownies set without getting soggy. Even a basic stand mixer can mix batter, but a wooden spoon works just as well. Remember: quality over quantity. These basics create pro results every time.
Don’t stress about missing a gadget. With a reliable brownie pan and sharp eyes for measurements, you’re ready to bake. Let’s get mixing!
Step-by-Step Instructions for Foolproof Chocolate Brownies
Learn to make easy brownies with this simple guide. Follow these steps to make any chocolate dessert recipes into top-notch treats. Every step is important—let’s get started.
Preparing Your Baking Pan
Begin with the right setup. Use an 8×8-inch pan for even baking.
- Grease the pan with butter or cooking spray.
- Line the bottom with parchment paper for easy removal.
- Avoid overcrowding—this prevents uneven cooking.
Melting Chocolate the Right Way
Melt chocolate gently to avoid bitterness.
- Microwave method: Heat in 30-second bursts, stirring after each interval until smooth.
- Stovetop method: Use a double boiler, stirring constantly until melted.
Don’t overheat or you’ll get gritty chocolate—bad for anyeasy brownies!
Mixing the Batter Without Overmixing
Here, less is more. Mix wet and dry ingredients until no dry flour remains. Stop when lumps are gone—overmixing makes brownies tough. Aim for a slightly thick, glossy batter. Hand mixing is best.
Determining the Perfect Baking Time
Bake at 350°F for 25–30 minutes. Test with a toothpick: it should come out with a few moist crumbs. Edges will pull away from pan sides when done. Overbaked brownies edges get crisp—perfect for chocolate dessert recipes with a chewy center.
The Secret to Fudgy vs. Cakey Brownies
Getting the perfect brownies is all about small changes. These changes make a big difference in brownie texture. Whether you love gooey or prefer lighter , it’s easier than you think.
Ingredient Ratios That Change Texture
- Fat to flour ratio: More butter or oil (60%+ of dry ingredients) keeps them moist for . Less fat (below 50%) makes them .
- Eggs: Adding extra yolks makes them fudgier; whole eggs make them denser for a base.
- Sugar type: Brown sugar adds moisture for fudgy results. White sugar gives crisp edges in cakey versions.
Baking Temperature and Timing Tricks
Temperature and time are key to changing texture. Here’s how:
- Low heat (325°F): Baking slowly traps steam, making them .
- High heat (350°F+: Baking fast dries edges, making them .
- Don’t overbake: Take them out when edges are set but the center is still a bit jiggly. This keeps them moist.
Try these tips to get your favorite . It’s science meets snack time!
Troubleshooting Common Brownie Baking Issues
Even the most seasoned bakers face brownie problems when making homemade brownies. Don’t let setbacks discourage you—these baking tips can turn mistakes into mouthwatering successes. Here’s how to fix common issues:
- Dry texture: Overbaking steals moisture. Brownie troubleshooting starts with the toothpick test: bake until a toothpick shows moist crumbs, not batter. Reduce oven time by 2–3 minutes next time.
- Gooey center: Underbaking leaves a runny core. Extend baking by 3–5 minutes or tent the pan with foil if edges are browning too fast.
- Sunken middle: Opening the oven door too early weakens rising. Resist peeking until the final 5 minutes of baking.
- Sticky edges: Use parchment paper for easy removal. Grease pans with butter and flour for extra grip.
- Cracked tops: Overmixing creates tough edges. Stir batter until just combined and avoid over-whipping eggs.
For homemade brownies, small adjustments make all the difference. Adjust ingredients gradually and always measure accurately. If brownies stick, line pans with parchment next time. Share your fixes and keep experimenting—perfecting recipes is part of the fun!
Delicious Variations of Classic Chocolate Brownies
Take your baking to the next level with these creative brownie variations. Whether you crave crunch, creaminess, or dietary flexibility, these twists on tradition will impress any palate. Start experimenting today—your kitchen is the limit!
Nutty Additions
Transform basic brownies into nutty brownies with toasted nuts. Try walnuts, pecans, or even pistachios for a Mediterranean flair. For an extra layer of flavor, sprinkle chopped almonds or hazelnuts on top before baking. Pro tip: Toast nuts in a dry pan for 5 minutes to amplify their aroma.
Swirl-In Options
- Peanut butter swirls: Drizzle melted peanut butter over the batter for a salty-sweet contrast.
- Caramel swirls: Use store-bought or homemade caramel sauce for a gooey surprise.
- White chocolate chips mixed with dark chocolate for a marbled effect.
Gluten-Free Adaptations
Create gluten-free brownies using a 1:1 almond flour blend like Bob’s Red Mill or King Arthur Measure for Measure. Replace regular flour with ½ cup of the mix per batch. Add an extra tablespoon of oil to keep the texture moist and fudgy.
Vegan Alternatives
Enjoy vegan brownies by substituting eggs with 3 tablespoons of aquafaba per egg or a flax egg (1 tbsp ground flax + 3 tbsp water). Use coconut oil instead of butter and dairy-free chocolate chips like Enjoy Life brand. The result? Indistinguishable from traditional versions!
How to Serve Your Chocolate Brownies
Turn your homemade brownies into stunning chocolate desserts with these easy tips. Whether for a casual snack or a fancy event, the right presentation makes every bite special.
Pairing Suggestions
Find the perfect match for your rich brownies:
- Enjoy with cold milk, coffee, or a bit of caramel sauce.
- For adults, try a bourbon drizzle or a glass of dark red wine.
- Add vanilla ice cream or fresh raspberries for a sweet and tangy mix.
Dessert Plating Ideas
Make your brownie desserts look amazing with these ideas:
- Warm brownies with a scoop of salted caramel ice cream.
- Top frosting brownies with whipped cream or chocolate ganache.
- Place chilled slices on a wooden board with fruit for a rustic feel.
Serve desserts at room temperature or warm from the oven. Add sprinkled sea salt or chopped nuts for extra texture. Even a light dusting of powdered sugar can make them look fancy. Let your creativity run wild—your guests will love it!
Storing and Freezing Instructions
Keeping homemade treats fresh is key. Let them cool down completely before cutting. This prevents them from getting soggy. Store them in airtight containers for up to 4 days at room temperature or in the fridge.
- Wrap baked brownies in parchment paper first, then seal in a container.
- Avoid plastic wrap directly on the surface to prevent drying.
For freezing desserts, wrap them in foil and then in freezer-safe bags. Don’t forget to label with the date. Freeze for up to 3 months. Freezing individual slices makes it easy to grab one when you want.
“Freezing brownies at peak freshness ensures they stay bakery-quality when reheated,” says pastry chef Emily Thompson.
Make-ahead desserts are a breeze with this method. For events, pre-freeze portions and reheat in a 300°F oven for 10–15 minutes. Always keep homemade brownies away from strong-smelling foods to avoid flavor transfer.
With these steps, your homemade brownies will stay delicious for a long time. Enjoy them tomorrow or months later, knowing they’ll always be perfect.
Nutritional Information and Dietary Considerations
Chocolate desserts can be enjoyed mindfully with a little knowledge. Let’s explore how to balance indulgence and nutrition without losing that rich brownie flavor.
Calorie Breakdown
A standard brownie serving clocks in at around 250-350 brownie calories, depending on size and ingredients. Dark chocolate adds antioxidants but also fat. Butter or oil contributes most of the calories, while nuts or add-ins tweak the macronutrient balance.
Making Healthier Brownies Without Sacrificing Taste
Small swaps keep dessert nutrition goals on track. Try these tricks:
- Use ripe mashed bananas or avocado for moisture (no green taste!)
- Swap half the flour with oat flour for fiber
- Add unsweetened applesauce to cut sugar content
- Dark chocolate (70%+ cocoa) boosts nutrients while reducing sugar
“Replacing 1/2 cup flour with black beans adds fiber without sacrificing texture,” says registered dietitian Emily Carter of NutriBites. “Just puree them first!”
Gluten-free flours like almond or coconut work well, and dark chocolate chips beat milk chocolate for fewer grams of sugar. Portion control matters—enjoy one rich square instead of three smaller pieces. These tweaks turn classic chocolate desserts into occasional treats that still satisfy!
More Chocolate Desserts to Try After Mastering Brownies
Once your brownies are a hit, why stop there? Dive into chocolate dessert recipes that take your skills further. Whether you love or crave new textures, these picks build on your foundation:
“The best bakers start with basics but never stop experimenting.” – Chef Élodie Marchand, Cakemaking Innovator
- Flourless Chocolate Cake: Use your knowledge of melting to craft a velvety layer cake with no dryness.
- Chocolate Soufflé: Master meringue peaks while using the same rich cocoa base as brownies.
- Chocolate Lava Cake: Perfect your oven timing skills to achieve gooey centers—building on brownie baking techniques.
- Dark Chocolate Truffles: Learn tempering to create glossy coatings, a key step in advanced .
Explore global like Italian cioccolato al mascarpone tart or French mousse. Online platforms like Food Network and Bon Appétit offer step-by-step guides. Start small: Try a soufflé this weekend, then aim for truffles next month. Every bite is a step closer to becoming a chocolate connoisseur.
Conclusion
Homemade brownies are more than just a sweet treat. They celebrate creativity and comfort. This perfect brownies recipe is a mix of old and new, leading to fudgy or cakey results. Each step, from melting chocolate to adding nuts, turns simple ingredients into chocolate desserts everyone loves.
Whether you’re new to baking or have years of experience, this brownie recipe fits your style. It shows that homemade treats always outshine store-bought ones.
Sharing these homemade brownies with loved ones creates special moments. Try gluten-free or vegan versions and see how they change the taste. Even small mistakes can teach you something new. So, keep your oven warm and your chocolate nearby.
Bake with confidence and don’t be afraid to share your experiences. Got questions about substitutions or texture tips? Leave them in the comments. Your kitchen is now ready to make perfect brownies that compare to any bakery’s. It’s time to preheat and start baking.
FAQ
What ingredients do I need for the perfect chocolate brownies?
For delicious chocolate brownies, you’ll need unsweetened cocoa powder and semi-sweet chocolate. Also, butter, sugar, eggs, and vanilla extract are essential. You can add nuts, espresso powder, and sea salt for extra taste.
Can I make brownies gluten-free?
Yes, you can! Use gluten-free flour blends or almond flour instead of all-purpose flour. Adjust the baking time for the best results.
How do I know when my brownies are done baking?
Check if the edges are set and a toothpick comes out with moist crumbs. They will firm up as they cool.
What’s the difference between fudgy and cakey brownies?
Fudgy brownies have more fat and less flour. Cakey brownies have more flour, making them lighter and fluffier.
How should I store leftover brownies?
Store them in an airtight container at room temperature for up to 4 days. Or, wrap them tightly and freeze for up to 3 months. Thaw at room temperature before enjoying.
Can I add mix-ins to my brownies?
Yes! Add chocolate chips, nuts, caramel swirls, or marshmallows. Mix them gently for even distribution.
What is the best way to melt chocolate for brownies?
Melt chocolate in a microwave-safe bowl in short intervals, stirring often. Or, use a double boiler on the stovetop. Make sure it’s smooth and glossy.