Sauerkraut is shredded cabbage fermented in brine, and is commonly used in many European dishes. It has a distinct flavor that’s different from fresh cabbage, and is rich in vitamins, minerals, and probiotics that benefit the digestive system.
Rich in probiotics:Helps improve digestive health.
Rich in vitamins and minerals: Contains vitamin C, vitamin K, calcium, and magnesium.
Aids digestion:Promotes bowel movements and aids nutrient absorption.
Reduces the risk of cancer: Some studies suggest that sauerkraut may help reduce the risk of certain cancers.
Helps improve irritable bowel syndrome symptoms: It may help improve symptoms in people with irritable bowel syndrome.
Sandwiches: Sauerkraut is added to sandwiches to add a unique flavor.
Meat: Served with meat to add a tangy flavor.
Side dishes: Can be used as a side dish with main dishes.
Making sauerkraut at home saves you a lot of money—a jar of fermented sauerkraut can cost as little as $7! You can make sauerkraut much faster. Opt for sauerkraut, which is very simple to make, so the effort involved doesn’t limit the savings. The only downside is the wait: if you run out of sauerkraut, you’ll have to wait to ferment the jar again. But it’s worth the wait!
Why You Should Make Your Own Sauerkraut
The benefits of probiotics are well-established and the fact that you’re here reading this means you’re already aware of that. And you’re probably also aware that there is no better or easier way to access a wide spectrum of probiotics than making your own sauerkraut. With probiotic supplements you’re limited to a couple or few select strains. Research has shown homemade fermented sauerkraut to contain as many as 28 separate and distinct strains. No probiotic pill can replicate that. Not to mention that there is no way to verify how much of the bacteria is even still alive in probiotic supplements.
With homemade fermented sauerkraut you’re benefitting not only from a large variety of probiotic strains, you’re also getting a large dose of live, healthy, and robust ones.
Why You’ll Love This Recipe:
- Inexpensive – True fermented raw sauerkraut at the grocery store that hasn’t been canned, which kills the good bacteria, can be pricey. Making a large batch yourself is a fraction of the price. Plus, homemade always tastes better!
- “I was impressed with the ease of this recipe,” says cindyinbay. “I made this with Schweinbraten Pork Roast from this site. What a wonderful New Years’ Day meal that made!”
- This tasted fantastic with kielbasa and a little mustard,” according to one Allrecipes community member. “Will make again.”
- You only need 2 ingredients. All you need to do is combine shredded cabbage with some salt and pack it into a container. The cabbage releases liquid, creating its own brining solution. Submerged in this liquid for a period of several days or weeks, the cabbage slowly ferments into the crunchy, sour condiment we know and love as sauerkraut.
How to Make Sauerkraut
Supplies Needed
Large Bowl – Choose a bowl large enough to hold a full head of cabbage after shredding.
Kraut Pounder – If you do not have a kraut, or cabbage pounder, a heavy wooden spoon or a wooden meat hammer will work just as well. The pounding process is critical because it extracts the water needed for the fermentation process. If you simply add water without extracting the water from the cabbage, you will end up with an imbalance of water-to-salt ratio, which will result in your ferment failing.
Large Mason Jar – Clean your jar with hot, soapy water. Do not sanitize with bleach. If any trace of bleach is left, it will stop the lactobacillus from multiplying.
Fermenting Lid – Fermenting lids are nice to have but not necessary. If you don’t have a fermenting lid, you could use a storage lid made for quart jars or even a two-part canning lid. The storage lids are not airtight, but two-part canning lids can be, so if you use a two-part canning lid, make sure it’s on loosely to allow for airflow and off-gassing.
Ingredients Needed
Sea Salt – I recommend using Redmond Real Salt or kosher salt. (Using that link for Redmond Salt will automatically give you 15% off your order!) The ratio of salt to cabbage should be two tablespoons for every head of cabbage. Salt has more than one purpose. It draws the moisture from the cabbage to create the liquid needed for the fermentation process, and it also preserves the cabbage from breeding bad bacteria while the beneficial bacteria are forming.
Cabbage – It will roughly take a medium-sized head of green or red cabbage to fill a quart jar. This is purely subjective, and it’s not necessary to weigh the cabbage for an exact measurement. Just pick a head of cabbage that seems “medium” size to you.
Step-by-Step Instructions
- Inspect the cabbage, and remove any outer leaves of the cabbage that show signs of decay or bruising. These leaves can be fed to your livestock or added to your compost pile.
- Remove a second leaf, keeping it as whole as possible, and set this leaf aside for later.
- Remove the core and set it aside to make stock later, or put it with the leaves that will go to your livestock or compost pile.
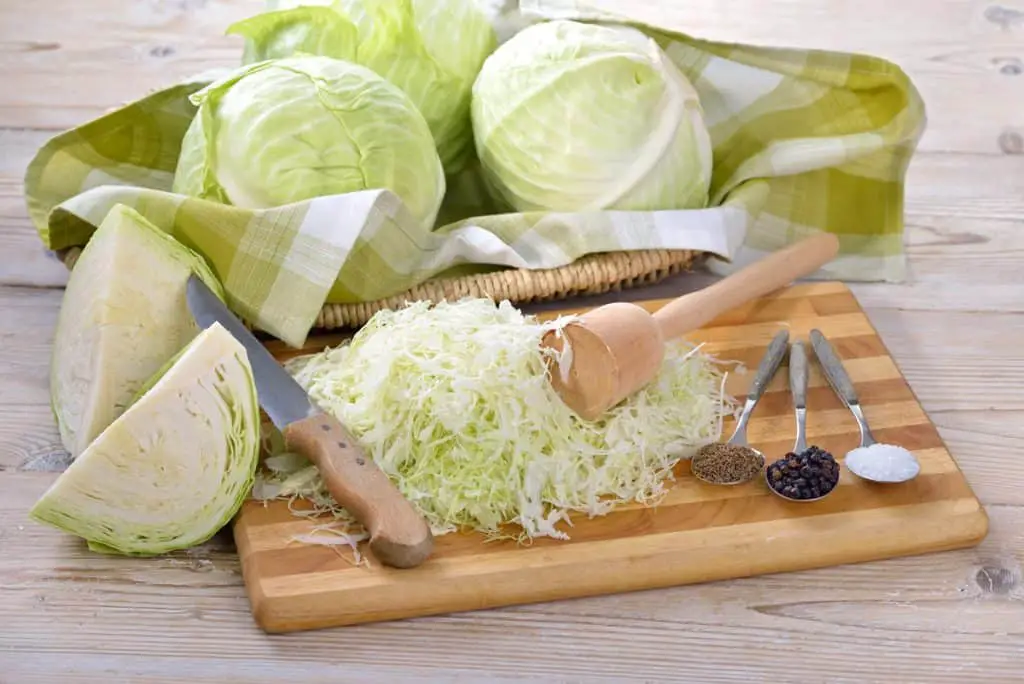
- Finely shred the remaining cabbage by cutting it against the grain.
- Place shredded cabbage in a large bowl and sprinkle salt over the cabbage.
- Toss the cabbage with clean hands to incorporate the salt evenly throughout the cabbage.
- After thoroughly combining the cabbage and salt, allow the cabbage to sit for about 10-15 minutes. After sitting, you will notice that the salt has started to work, drawing the moisture out.
- With the cabbage pounder, wooden spoon, or wooden meat hammer, pound the cabbage to extract the rest of the water from the cabbage. This step should take at least 10 minutes. Homesteading Hack: If it seems the cabbage isn’t breaking down after 10 minutes, let it sit for another 30 minutes, and come back to pound it some more. Your final product should have about ⅓ of the volume as when you began.
- With clean hands, transfer the cabbage from the bowl to the quart glass jar, packing with your wooden cabbage pounder to remove any air bubbles.
- Once the cabbage is packed tightly in the jar, you will have leftover juice in the bottom of your bowl. You will use this, but first, tear off the soft part of the reserved cabbage leaf and tuck it into the jar on top of the cabbage to help weigh it down so the cabbage remains submerged underneath the surface of the liquid. It is critical that all of the cabbage stays under the surface of the liquid, or it will mold.
- Top off the jar with remaining cabbage juice, leaving about an inch of room at the top. This will avoid any spillage that may happen during any movement caused by the fermentation process.
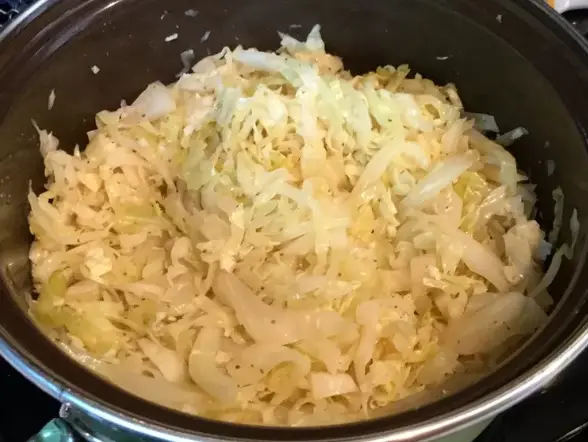
- Leave on the counter at room temperature for an average of 3 days to ferment (give or take, depending on how warm or cool your kitchen is). You should notice the fermentation activity (or bubbling), and the smell will change to sour or acidic.
- At this point, you can move the jar to long-term cold storage in your refrigerator or root cellar. It has a shelf life of up to a year.