Making delicious sourdough bread at home is easier than you think. With just 5 simple ingredients – bread flour, active sourdough starter, water, salt, and olive oil – you can create artisanal loaves right in your own kitchen.
This comprehensive guide will walk you through the process, providing a simple sourdough bread recipe and step-by-step instructions. Whether you’re a beginner or an experienced baker, this guide is perfect for anyone looking to master the art of sourdough baking.
By following this easy-to-follow guide, you’ll be able to create delicious homemade sourdough bread that’s sure to impress family and friends.
The Magic of Sourdough Bread
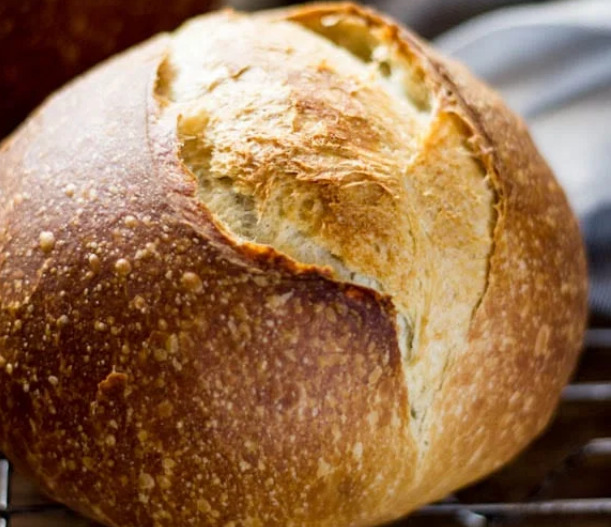
Sourdough bread is more than just a type of bread; it’s an experience that combines tradition with natural ingredients. This bread is leavened naturally by a sourdough starter, unlike commercial yeast or chemical leavening agents. The result is a unique tangy flavor and chewy texture that many bread enthusiasts adore.
The process of creating sourdough bread is both an art and a science, involving the fermentation of dough by wild yeast and bacteria. For those new to sourdough, finding an easy sourdough bread recipe can be a great starting point. As you gain experience, you can experiment with different variations of sourdough bread recipe to find your perfect loaf.
Whether you’re a seasoned baker or just starting out, the journey of making sourdough bread is rewarding, yielding delicious homemade bread that’s hard to resist.
Understanding the Science Behind Sourdough
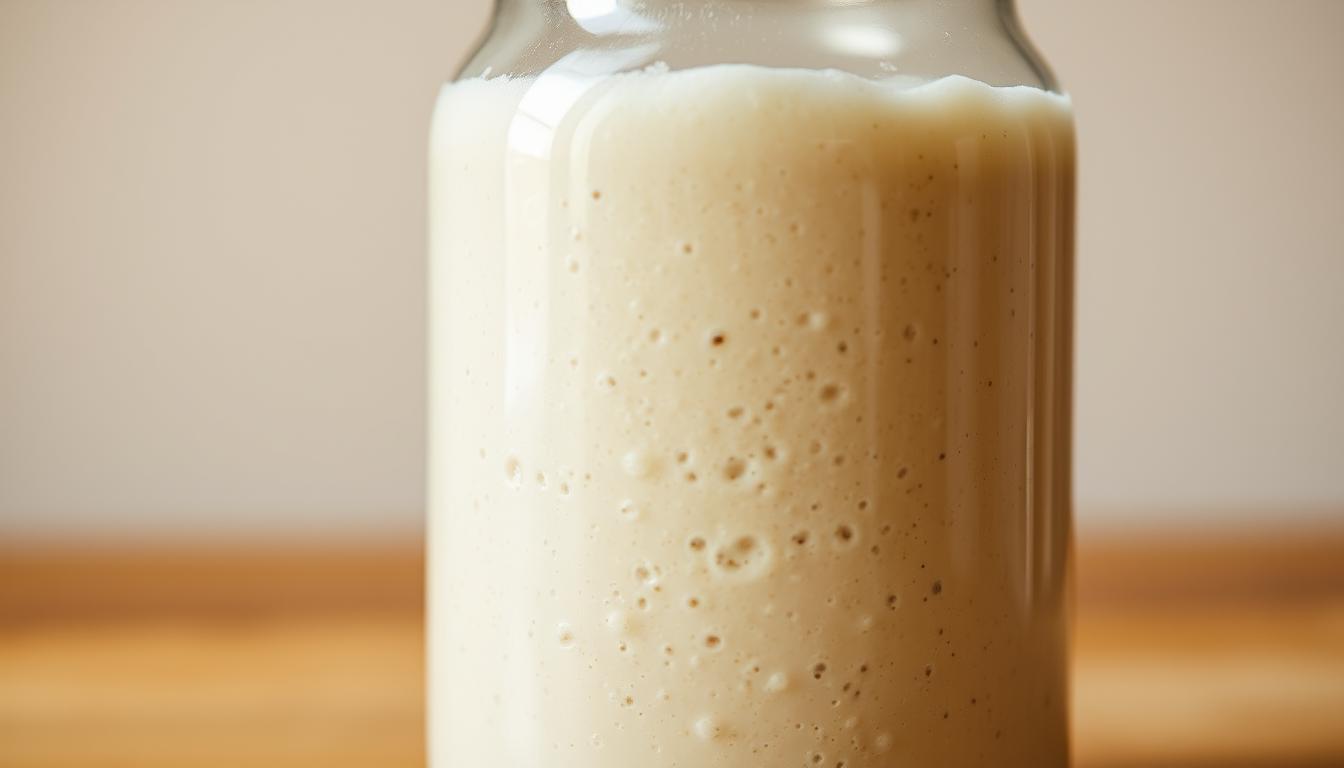
The art of making sourdough bread is rooted in science, relying on a natural process that involves wild yeast and bacteria. A sourdough starter is a fermented mix of flour and water containing these microorganisms, which are responsible for the rise and flavor of the bread.
Wild yeast and lactobacilli play a crucial role in sourdough bread baking. The wild yeast ferments the sugars in the dough, producing carbon dioxide and causing the dough to rise. Lactobacilli, on the other hand, produce lactic acid, giving sourdough its characteristic tangy flavor.
To create a healthy sourdough starter, it’s essential to provide the right environment for these microorganisms to thrive. This involves maintaining the right temperature, feeding the starter regularly, and using the right type of flour. By understanding the science behind sourdough, bakers can create a robust sourdough starter recipe and apply effective sourdough bread baking tips to produce delicious bread.
A well-maintained sourdough starter is the key to baking high-quality sourdough bread. By grasping the science behind the starter, bakers can troubleshoot common issues and optimize their baking process.
Essential Equipment for Sourdough Baking
Having the right equipment is vital for successful sourdough bread baking. To get started, you’ll need a few essential tools that will help you create delicious, authentic sourdough bread.
Measuring Ingredients Accurately: A digital scale is crucial for measuring ingredients accurately, ensuring your dough is properly balanced.
Mixing and Fermenting: A straight-sided vessel is ideal for mixing and fermenting your sourdough starter and dough. A bench scraper is also handy for handling the sticky dough.
Proofing and Baking: Flour sack towels or linen, along with parchment paper, are necessary for proofing your dough. A banneton or proofing basket helps maintain the shape of your loaf. For baking, a heavy lidded vessel, such as a Dutch oven, is perfect for creating a crispy crust.
Scoring Your Loaf: A razor blade or lame is used to score your sourdough loaf before baking, allowing it to expand properly during baking.
By investing in these essential tools, you’ll be well on your way to baking delicious, authentic sourdough bread using a simple sourdough bread beginner recipe or an authentic sourdough bread recipe. Happy baking!
The Perfect Sourdough Bread Recipe Ingredients
The foundation of a great sourdough bread is built on the simplicity and quality of its ingredients. To make the best sourdough bread recipe, you’ll need a few key components that work together in harmony.
First and foremost, you’ll need a healthy, bubbly, and active sourdough starter. For this recipe, you’ll require 150g/5.35 oz of this starter. The starter is the heart of your sourdough, providing the natural yeast and bacteria necessary for fermentation.
Next, you’ll need 250g/8.80 oz of warm water. The temperature of the water is crucial, as it affects the activity of the starter and the overall dough development.
In addition to the starter and water, you’ll need 25g/.90 oz of olive oil, which adds moisture and flavor to your bread. The main component of your dough will be 500g/17.65 oz of bread flour. The quality of the flour is vital, as it directly impacts the texture and flavor of your sourdough.
Finally, you’ll need 10g/.4 oz of fine sea salt. Salt not only enhances the flavor but also plays a role in controlling the fermentation process, making it a crucial ingredient in your traditional sourdough bread recipe.
By focusing on these high-quality ingredients and understanding their roles, you’ll be well on your way to creating a delicious and authentic sourdough bread that showcases the beauty of this traditional baking method.
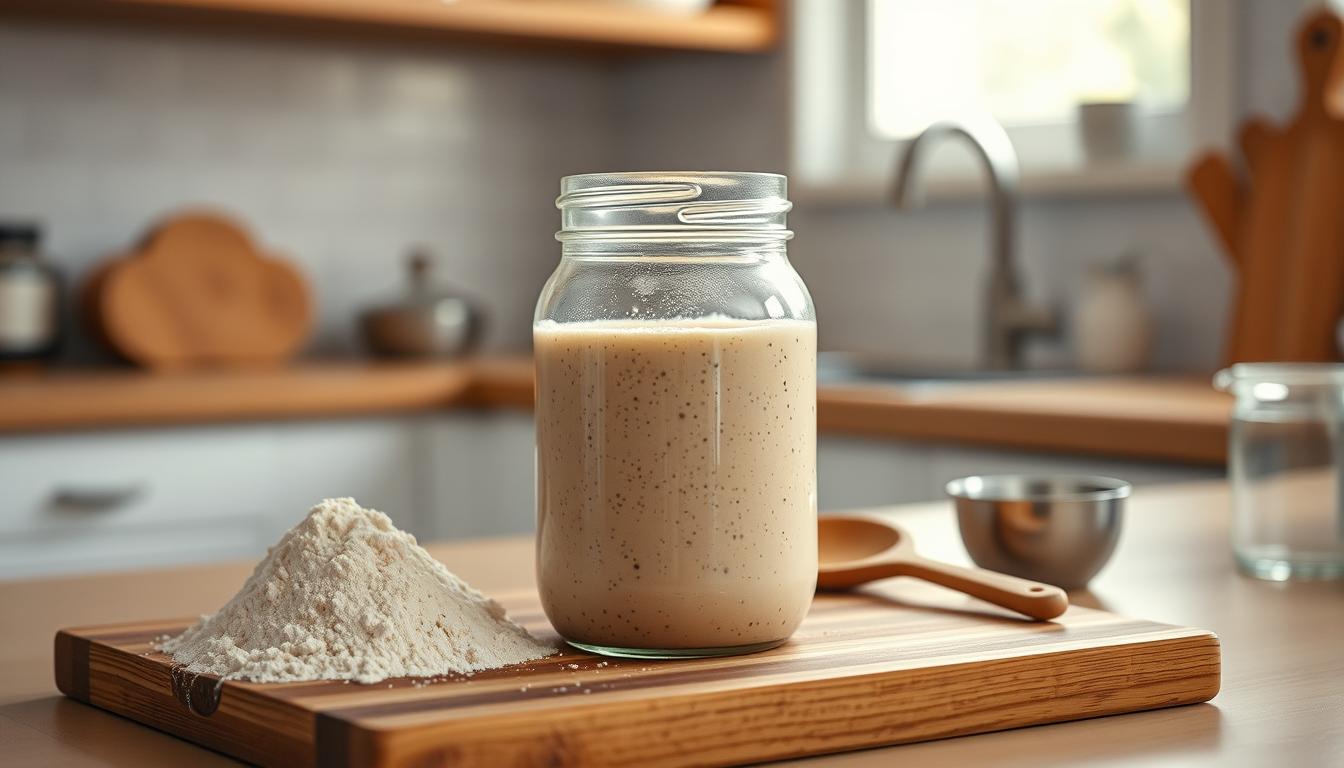
Creating Your Sourdough Starter from Scratch
To make authentic sourdough bread, you need to start by developing a sourdough starter, a process that’s both simple and rewarding. A sourdough starter is a live culture made from flour and water that begins to ferment, cultivating naturally occurring wild yeasts and bacteria.
The process begins with mixing equal parts of flour and water in a clean container. It’s essential to use a non-reactive container, such as glass or ceramic, as metal can inhibit the starter’s activity. The mixture should be smooth and free of lumps, with a consistency similar to pancake batter.
After mixing, cover the container with a cloth or plastic wrap to keep dust out and maintain a humid environment. The starter needs to be kept at room temperature, ideally between 70°F to 75°F (21°C to 24°C), to encourage fermentation.
Within 24 to 48 hours, you should start to see signs of fermentation, such as bubbles on the surface or a slightly sour smell. This indicates that the wild yeasts and bacteria are starting to colonize the mixture. Over the next few days, you’ll need to feed your starter regularly, discarding half of it and adding fresh flour and water to keep it alive and healthy.
Creating a homemade sourdough bread starts with patience and persistence. As your starter becomes more active and robust, it’s a sign that it’s ready to use in your sourdough bread recipe. With regular feeding and care, your sourdough starter will become a reliable companion in your bread-making journey.
Maintaining Your Sourdough Starter
Maintaining a healthy sourdough starter requires dedication and a bit of know-how. To keep your starter alive, you need to feed it regularly with flour and water. This process not only keeps the starter active but also contributes to the unique flavor and texture of your sourdough bread.
Feeding Your Sourdough Starter: To maintain your starter, it’s essential to feed it once a day, especially if you’re baking regularly. The ratio of flour to water can vary, but a common practice is to use equal parts of flour and water by weight. For example, if you’re using 100g of starter, you would add 100g of flour and 100g of water.
When you’re not baking frequently, you can store your starter in the refrigerator to slow down its activity. Before storing, feed it once, then cover it loosely and refrigerate. When you’re ready to bake again, take it out, feed it a few times to revive it, and you’re good to go. Following these sourdough bread baking tips will ensure your starter remains healthy and active.
For an easy sourdough bread recipe, maintaining a consistent feeding schedule is key. This consistency will help you achieve a reliable and robust starter, crucial for baking delicious sourdough bread.
Classic Sourdough Bread Recipe Step-by-Step
To make a classic sourdough bread, you’ll need to combine a few simple ingredients and follow a step-by-step process. This involves mixing the initial dough, mastering the autolyse process, and adding salt and initial kneading techniques.
Properly Mixing the Initial Dough
Begin by combining 500g of bread flour and 250g of water in a mixing bowl. Add 100g of your sourdough starter to the mixture. Mix the ingredients until they form a shaggy dough. This initial mix is crucial as it sets the stage for the development of your sourdough bread.
The mixture should be just combined; overmixing at this stage can lead to a dense bread. Cover the bowl with a damp cloth and let it rest for 20-30 minutes.
After the initial rest, the mixture will start to come together. This is where the autolyse process begins. The autolyse process involves allowing the flour to absorb the water fully, enhancing the dough’s texture. During this phase, the enzymes in the flour start to break down, contributing to the bread’s flavor.
Let the dough rest for another 20-30 minutes. This step is crucial for developing the gluten in the dough, which will give your bread its characteristic chew.
Adding Salt and Initial Kneading Techniques
Once the autolyse is complete, add 10g of fine sea salt to the dough. Mix the salt into the dough gently to avoid overworking it. Then, begin the initial kneading process. You can do this by hand or using a stand mixer with a dough hook attachment.
Knead the dough for about 10 minutes until it becomes smooth and elastic. This step is essential for developing the gluten further and giving the bread its structure.
By following these steps, you’ll be well on your way to creating a delicious sourdough bread using a simple sourdough bread beginner recipe. The key is patience and allowing the dough to develop at its own pace.
Mastering Sourdough Fermentation
Understanding and controlling sourdough fermentation is key to baking authentic sourdough bread recipe. Fermentation is the process by which the sourdough starter converts the sugars in the dough into carbon dioxide, causing the bread to rise. This process not only affects the texture of the bread but also contributes significantly to its flavor.
The bulk fermentation time can vary significantly, typically ranging from 3 to 12 hours, depending on factors such as the temperature of your ingredients and the potency of your sourdough starter. A warmer environment generally speeds up the fermentation process, while a cooler environment slows it down. It’s crucial to monitor your dough’s progress, as over-fermentation can lead to a less desirable flavor and texture.
To achieve the perfect rise, it’s essential to create an environment that fosters healthy fermentation. This involves maintaining the right temperature, ensuring the dough is not too tight or too loose, and being patient. The traditional sourdough bread recipe relies heavily on the natural yeast and bacteria present in the starter, making the fermentation process both an art and a science.
Tips for mastering sourdough fermentation include using a high-quality sourdough starter, maintaining a consistent temperature, and being observant of the dough’s behavior. By understanding these elements and adjusting your approach as needed, you can achieve a beautifully risen loaf with a complex, tangy flavor characteristic of a true sourdough.
In conclusion, mastering sourdough fermentation is a critical step in creating an authentic sourdough bread recipe. By grasping the factors that influence fermentation and applying patience and observation, bakers can produce bread that is not only delicious but also a testament to the traditional sourdough baking process.
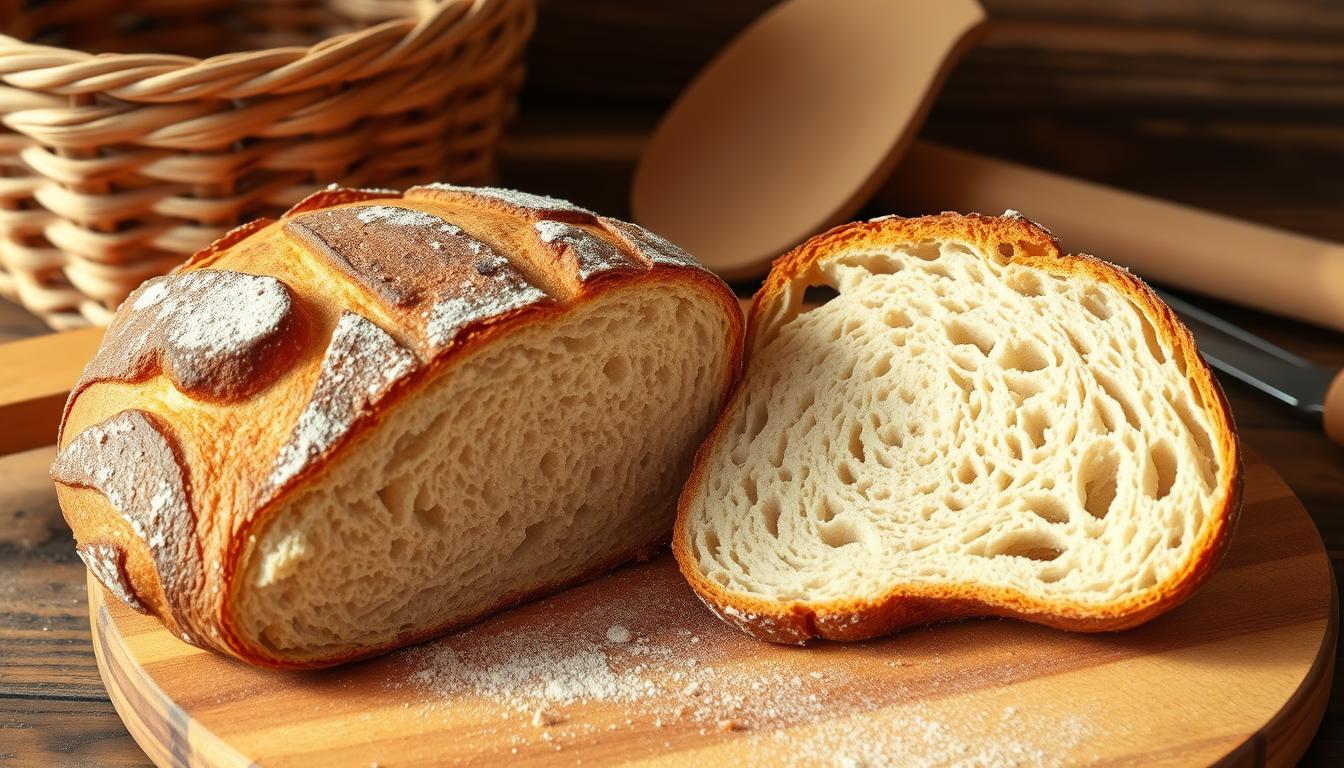
Shaping Your Sourdough Loaf
To achieve a perfectly baked sourdough, mastering the shaping process is essential. Shaping your sourdough loaf is an art that requires some practice, but with the right techniques, you can achieve a beautifully rounded loaf with a tender crumb.
To start shaping, use a bench knife to gently move the dough to a non-floured surface. This step is crucial as it helps in handling the dough without sticking. Gently fold the dough over toward the center, giving it a slight turn. This action helps to develop the dough’s tension, which is vital for a well-structured loaf.
As you shape your loaf, remember that the goal is to create a smooth, taut surface. This not only improves the appearance of your bread but also affects its texture and baking performance. For the best sourdough bread recipe, it’s essential to be gentle yet firm during the shaping process.
Incorporating sourdough bread baking tips into your shaping technique can significantly enhance your final product. Practice makes perfect, so don’t be discouraged by initial attempts. With time, you’ll develop the skills needed to produce a beautifully shaped sourdough loaf.
The Final Proof: Patience is Key
The final proof is a crucial step in making homemade sourdough bread, requiring patience and attention to detail. During this stage, the shaped dough is allowed to rest and rise, developing the complex flavors and textures that characterize a well-made sourdough.
To achieve the perfect proof, it’s essential to provide the right conditions. Let the dough rest for 12-15 hours in the refrigerator or 3-4 hours at room temperature. This slow rise allows the yeast to ferment the sugars, producing a more complex flavor profile.
The key to a successful final proof is patience. Resist the temptation to rush the process, as this can lead to a dense or unevenly textured bread. Instead, allow the dough to rest undisturbed, giving it the time it needs to develop fully.
By following these guidelines and being patient, you’ll be rewarded with a beautifully proofed homemade sourdough bread that’s sure to impress. With this easy sourdough bread recipe, you’ll be well on your way to creating delicious bread that’s perfect for any occasion.
Scoring and Baking Your Sourdough
The art of scoring and baking your sourdough bread is where patience meets skill, resulting in a perfectly baked loaf. Scoring, or slashing, the bread allows it to expand during baking, creating a more complex shape and crust texture. To achieve a beautifully scored loaf, use a sharp blade or razor, making swift, confident cuts on the surface of the dough.
To bake your sourdough to perfection, preheating your Dutch oven is crucial. Preheat your Dutch oven to 500 degrees for 1 hour before gently placing your scored sourdough inside. This high heat, combined with the steam generated during baking, will create a crispy crust. Bake the bread for 20 minutes with the lid on, allowing the steam to surround the loaf, followed by an additional 15-25 minutes without the lid, enabling the crust to brown.
When baking, it’s essential to handle the dough gently to avoid deflating it. Place the dough into the preheated Dutch oven with care, and avoid opening the lid too often to check on the bread, as this can cause temperature fluctuations. By following these steps and using a sourdough bread recipe that you’ve perfected with your sourdough starter recipe, you’ll achieve a deliciously baked sourdough loaf.
The baking time may vary depending on your oven and the size of your loaf. Keep an eye on your bread during the last 15-25 minutes, as the baking time without the lid can vary. A perfectly baked sourdough will have a golden-brown crust and a hollow sound when tapped on the bottom.
Mastering the art of scoring and baking your sourdough bread takes practice, but with patience and the right techniques, you’ll be creating artisanal loaves that rival those from a professional bakery. Experiment with different scoring patterns and baking times to find what works best for you and your sourdough.
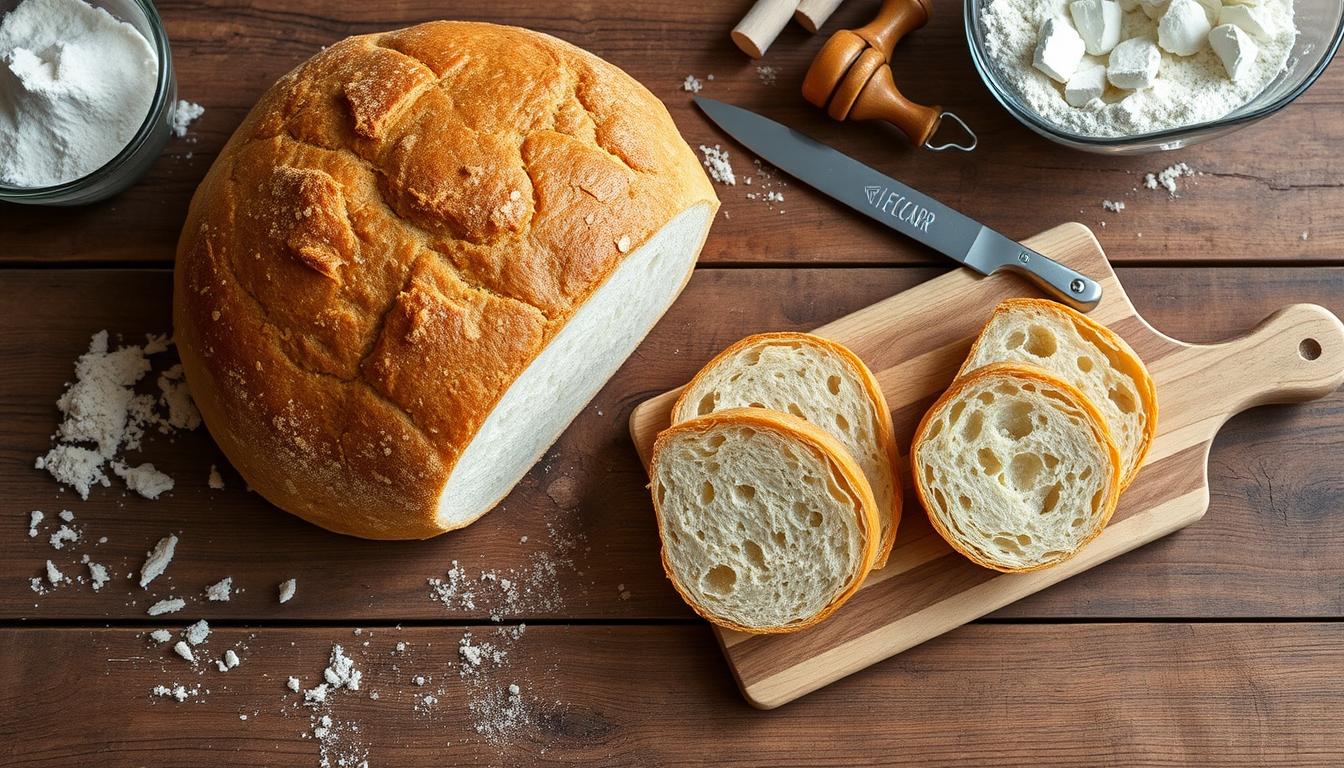
Cooling and Storing Your Freshly Baked Sourdough
Once your sourdough bread is done baking, the next crucial steps are cooling and storing it correctly. Cooling your sourdough bread is a critical step that affects its texture and flavor. It’s essential to cool the bread on a wire rack for at least 1 hour before slicing to allow the interior to set properly.
Proper Cooling Techniques are vital for maintaining the quality of your sourdough. Transferring the bread to a wire rack helps to prevent the crust from becoming soggy by allowing air to circulate around the loaf. This step is crucial for achieving a crispy crust and a well-cooked interior.
After the bread has cooled, storing it correctly is key to maintaining its freshness. For short-term storage, you can keep your sourdough bread at room temperature, wrapped in a paper bag or wrapped loosely in a clean towel. For longer storage, consider freezing your sourdough. Slice the bread before freezing for easier use, and store it in an airtight container or freezer bag.
Troubleshooting Common Sourdough Problems
Even experienced bakers encounter issues with their sourdough bread, but fortunately, most problems have simple solutions. Understanding the common pitfalls in sourdough baking can help you refine your techniques and produce better loaves.
One of the most common issues bakers face is over-fermentation. This occurs when the dough is allowed to ferment for too long, leading to a sour taste and unpleasant texture. To avoid over-fermentation, keep a close eye on your dough’s progress and adjust your traditional sourdough bread recipe accordingly.
Under-proofing is another issue that can affect the quality of your sourdough. If your loaf doesn’t proof long enough, it may not develop the desired texture and flavor. Make sure to give your dough sufficient time to proof, and consider using sourdough bread baking tips to gauge the optimal proofing time.
Poor shaping is also a common problem. To achieve a well-shaped loaf, gently handle the dough during shaping, and ensure it is properly tensioned. Refer to your traditional sourdough bread recipe for guidance on shaping techniques.
By being aware of these common issues and applying sourdough bread baking tips, you can troubleshoot problems effectively and improve your sourdough baking skills. Remember, practice makes perfect, so don’t be discouraged by initial setbacks.
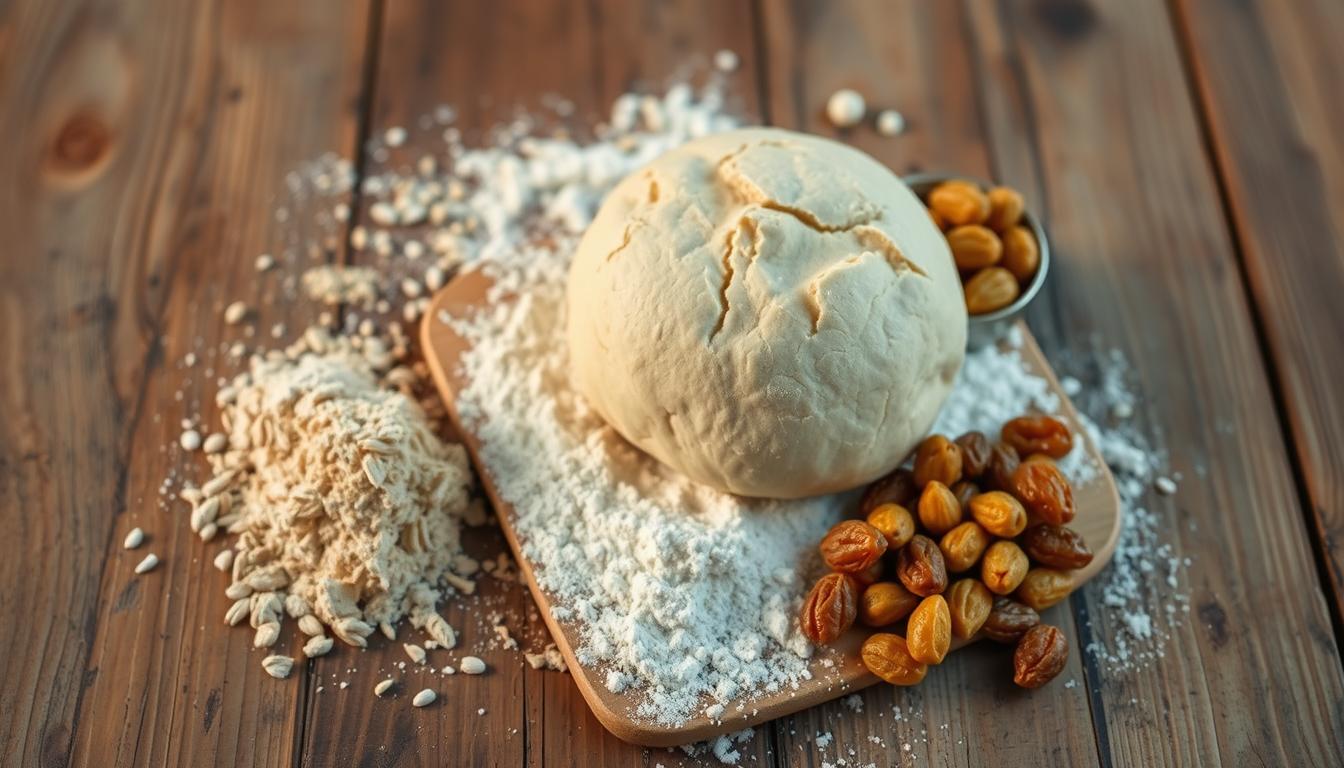
Creative Variations on Basic Sourdough
Once you’ve nailed the basic sourdough recipe, it’s time to get creative with different ingredients. The best sourdough bread recipe is just the starting point for a world of flavors.
You can start by adding various ingredients to create unique flavor profiles. For example, you can add cheese for a rich, savory taste or herbs like rosemary or thyme for a fresh, aromatic flavor.
Another option is to add some heat with jalapeños or other spicy peppers. You can also experiment with different types of flour, such as whole wheat or rye, to create a distinct texture and flavor.
Some other ideas for homemade sourdough bread variations include adding nuts, seeds, or dried fruits to create a delicious and healthy snack. You can also try using different liquids, like beer or wine, to add depth to your sourdough.
By experimenting with different ingredients and techniques, you can create a wide range of sourdough bread variations that are sure to impress your family and friends.
Time-Saving Tips for Busy Bakers
Busy bakers can still enjoy making sourdough bread with a few simple time-saving strategies. One effective method is to use your refrigerator to slow down the fermentation process, allowing you to prepare the dough in advance.
By placing your dough in the refrigerator, you can delay the fermentation process, giving you more flexibility with your baking schedule. This technique is particularly useful for those who want to bake sourdough bread without dedicating too much time to it.
Another time-saving tip is to prepare your sourdough starter and dough in advance. You can mix the dough, let it rest, and then refrigerate it until you’re ready to shape and bake it. This approach not only saves time but also helps in developing a more complex flavor in your sourdough bread.
To make an easy sourdough bread recipe, focus on simplifying your preparation and baking process. Use these tips to manage your time effectively and enjoy baking delicious sourdough bread without feeling rushed.
Conclusion: Your Journey to Sourdough Mastery
With the knowledge and skills gained from this comprehensive guide, you’re well on your way to becoming a sourdough master. By following a traditional sourdough bread recipe and practicing the techniques outlined, you’ll be creating delicious artisanal loaves in no time.
As you continue on your sourdough journey, remember that patience and persistence are key. Experiment with different variations of the sourdough bread recipe to find your unique style and flavor profile.
With each loaf, you’ll refine your skills and develop a deeper understanding of the sourdough process. Before long, you’ll be baking delicious sourdough bread like a pro, using your favorite traditional sourdough bread recipe.
FAQ
What is sourdough bread and how is it different from regular bread?
Sourdough bread is made using a natural starter culture instead of commercial yeast, giving it a unique tangy flavor and chewy texture. The natural fermentation process involved in making sourdough bread is what sets it apart from regular bread.
How do I create a sourdough starter from scratch?
To create a sourdough starter, mix equal parts of flour and water in a container, and let it rest in a warm, draft-free place. Feed the mixture regularly, and within a few days, it should start to bubble and emit a sour smell, indicating that it’s ready to use.
How often should I feed my sourdough starter?
The frequency of feeding your sourdough starter depends on how often you bake and the temperature of your environment. As a general rule, feed your starter once a day if you’re baking regularly, and once a week if you’re not baking as frequently.
What is the best flour to use for making sourdough bread?
The best flour for making sourdough bread is a high-protein flour, such as bread flour or all-purpose flour with a high protein content. You can also experiment with different types of flour, such as whole wheat or rye, to create unique flavor profiles.
Why is my sourdough bread not rising properly?
There are several reasons why your sourdough bread may not be rising properly, including an inactive starter, incorrect temperature, or overmixing the dough. Check your starter’s activity, ensure your dough is at the right temperature, and try to minimize handling the dough to resolve the issue.
How do I achieve the perfect crumb in my sourdough bread?
Achieving the perfect crumb in sourdough bread requires a combination of factors, including using the right flour, maintaining the right temperature and humidity, and not overmixing the dough. Experiment with different recipes and techniques to find what works best for you.
Can I make sourdough bread without a Dutch oven?
While a Dutch oven can help create a crispy crust on your sourdough bread, it’s not essential. You can achieve similar results using a preheated stone or baking steel, or even a regular oven with steam injection.
How do I store my sourdough bread to keep it fresh?
To keep your sourdough bread fresh, store it in a cool, dry place, away from direct sunlight. You can also store it in a bread box or a paper bag to maintain its texture and flavor.
Can I freeze my sourdough bread?
Yes, you can freeze your sourdough bread to extend its shelf life. Simply wrap the cooled bread tightly in plastic wrap or aluminum foil and store it in the freezer. When you’re ready to eat it, thaw the bread at room temperature or reheat it in the oven.
How can I modify the basic sourdough recipe to create different flavor profiles?
You can modify the basic sourdough recipe by using different types of flour, adding herbs or spices, or incorporating other ingredients, such as nuts or dried fruits. Experiment with different combinations to create unique flavor profiles that suit your taste.