Welcome to the world of homemade sourdough bread, where the joy of baking meets the simplicity of creating something delicious from scratch. Making sourdough bread at home is easier than you think, and with our beginner’s guide, you’ll be on your way to baking like a pro.
Our beginner sourdough guide is designed to walk you through every step of the process, from creating your first sourdough starter to baking your first loaf. With this easy-to-follow sourdough bread recipe, you’ll learn the basics and be enjoying fresh, homemade bread in no time.
By following this guide, you’ll discover the benefits of baking sourdough bread at home, including the ability to control ingredients and customize flavors to your liking.
The Magic of Sourdough Bread
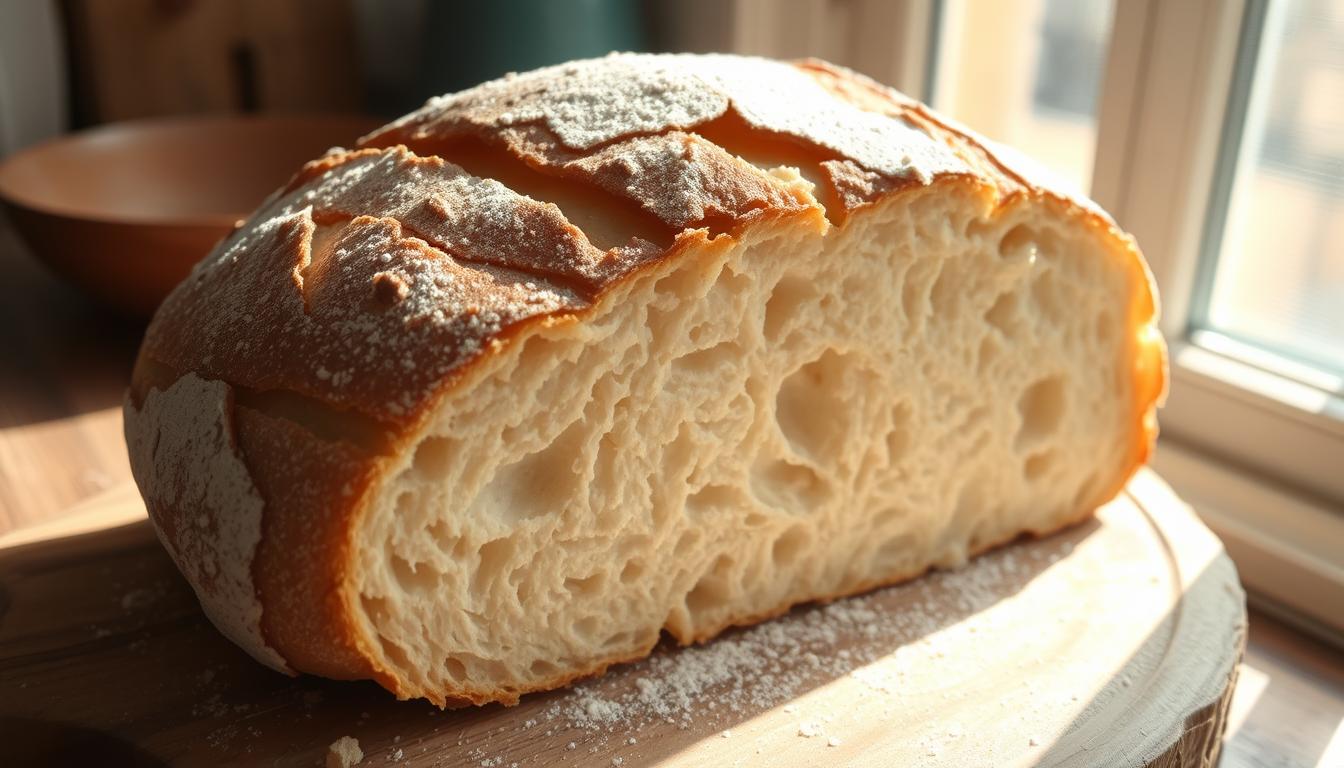
With its rich flavor and numerous health benefits, sourdough bread has become a favorite among bread enthusiasts. Sourdough bread is a slow-fermented bread that is naturally leavened with a sourdough starter, giving it a unique taste and texture.
The process of making sourdough bread involves traditional sourdough techniques that have been passed down through generations. By using a natural starter instead of commercial yeast, sourdough bread makers can create a more complex flavor profile and a more digestible product.
For those interested in artisan sourdough baking, the journey begins with understanding the basics of sourdough bread making. This includes learning sourdough bread making tips and techniques to improve the bread’s quality and consistency.
The magic of sourdough bread lies in its simplicity and the connection it provides to the art of traditional baking. Whether you’re a beginner or an experienced baker, sourdough bread making is a rewarding experience that combines art, science, and patience.
Understanding the Sourdough Process
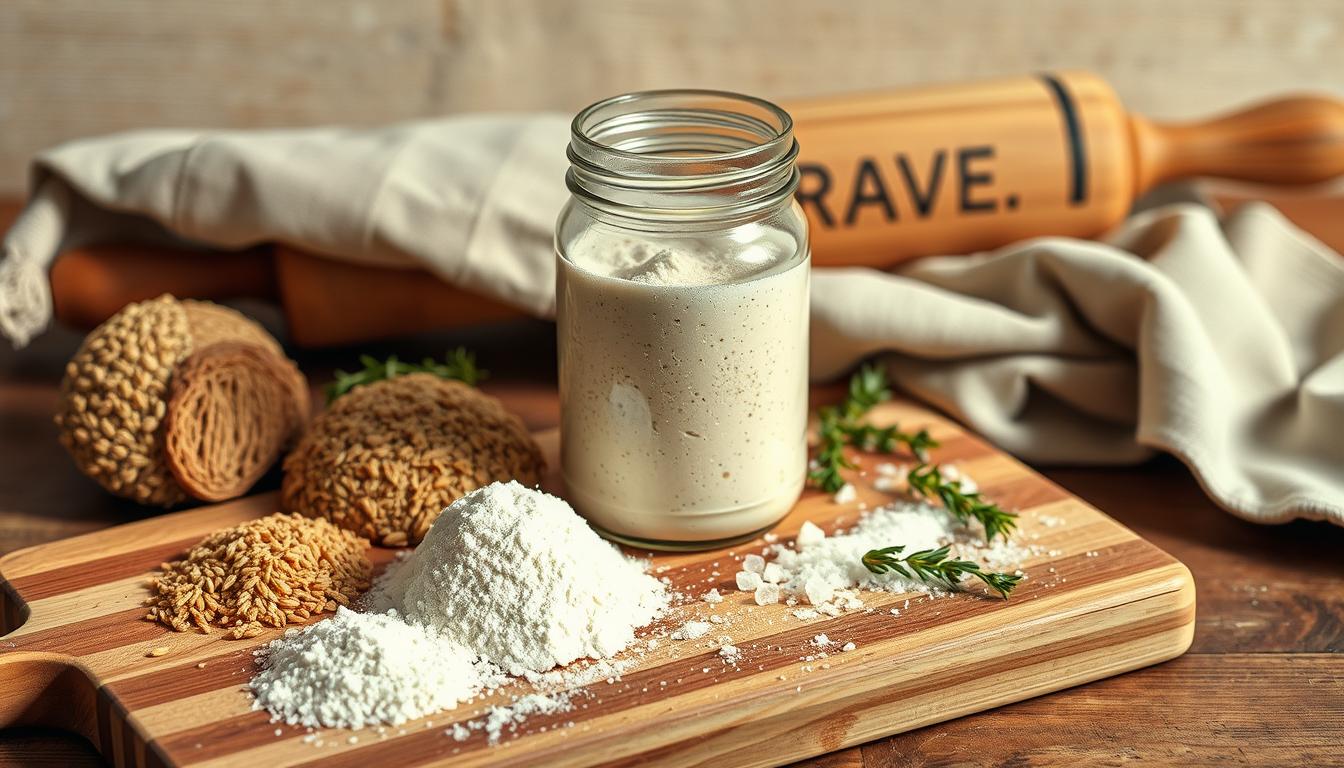
The foundation of any great sourdough bread is its starter, which is surprisingly easy to make. A sourdough starter is made by mixing flour and water together in a jar, creating an environment that fosters the growth of wild yeast and bacteria.
To create your sourdough starter, start by combining equal parts of flour and water in a clean container. Use a glass or ceramic container, as metal can inhibit the starter’s activity. Cover the container with a cloth or plastic wrap, allowing it to rest in a warm, draft-free place.
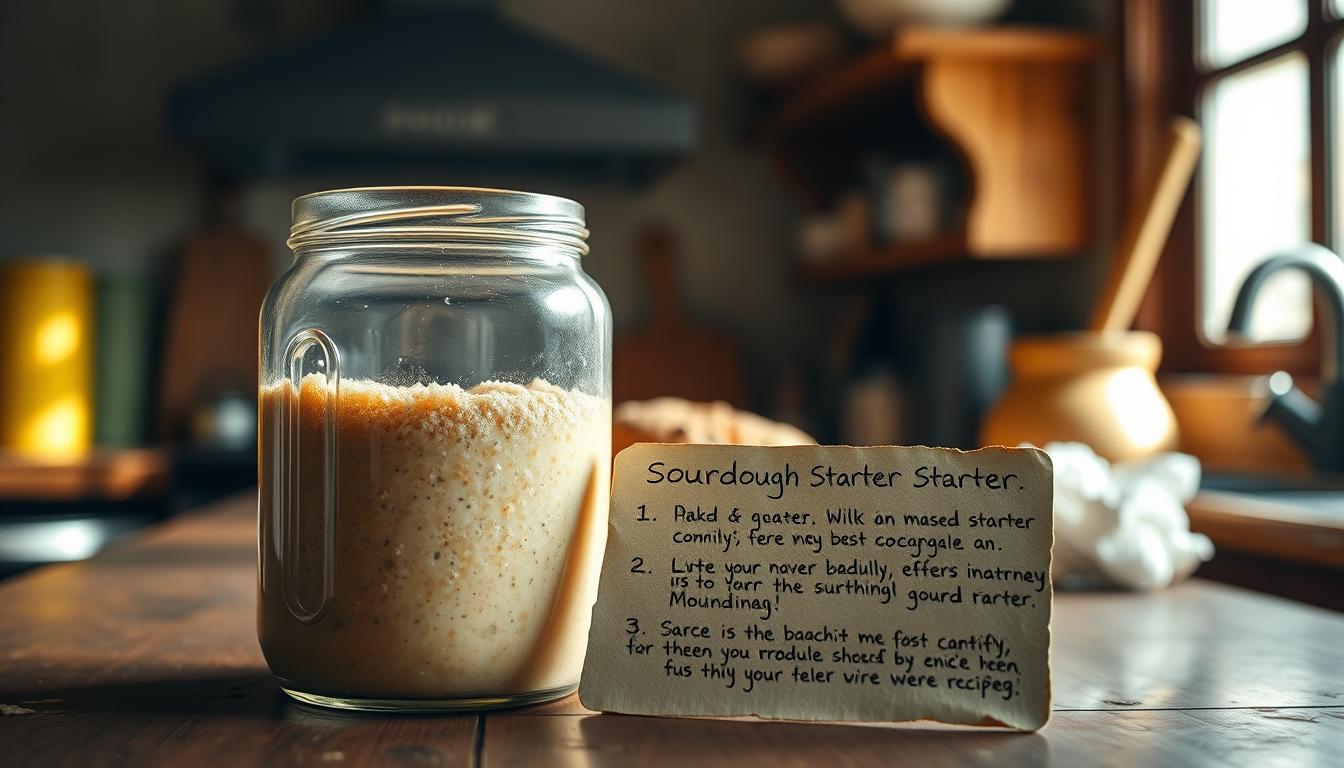
Over the next few days, your mixture will begin to bubble and emit a sour smell, indicating that the wild yeast and bacteria are colonizing. Feed your starter regularly with fresh flour and water to keep it alive and healthy. This process typically takes around 7-10 days, after which your starter should be bubbly, frothy, and nearly double in size after feeding.
Maintaining your sourdough starter is relatively simple. Once it’s active and robust, you can store it in the refrigerator to slow down its activity, feeding it once a week. When you’re ready to bake, take it out and let it come to room temperature before using it in your easy sourdough recipe.
Understanding the sourdough process is key to successful sourdough baking. With a healthy starter and a bit of patience, you’ll be on your way to creating delicious sourdough bread at home.
Essential Equipment for Sourdough Baking
The art of sourdough baking begins with the basics: the right equipment for the job. To successfully bake a delicious sourdough bread recipe, you’ll need a few essential tools.
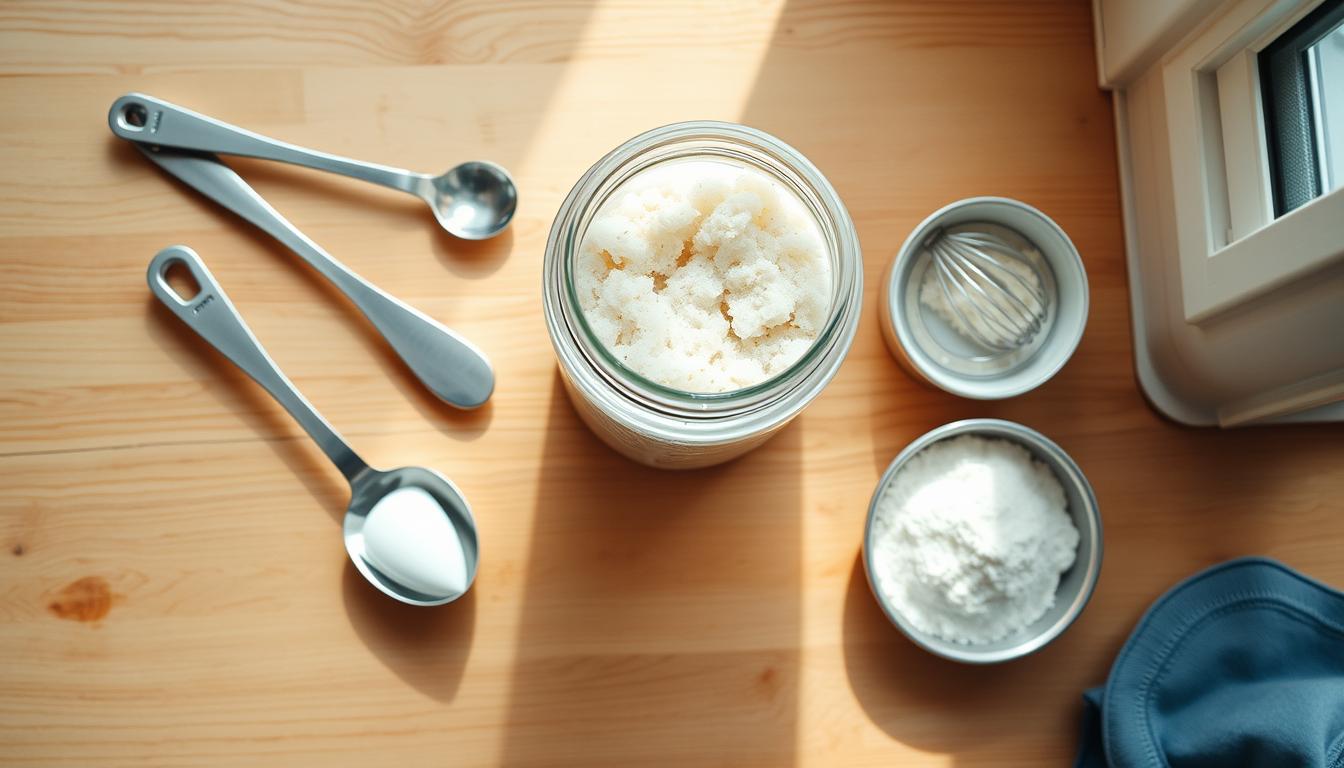
First and foremost, a large bowl is necessary for mixing your dough. A kitchen scale or measuring cups and spoons are also crucial for accurately measuring ingredients, a step that can’t be overstated in importance for achieving the perfect homemade sourdough bread.
A Dutch oven is another critical piece of equipment. It allows for the creation of a steamy environment that’s ideal for baking sourdough, promoting a beautiful crust and well-cooked interior. While not mandatory, a banneton or proofing basket can help in shaping your loaf and giving it a professional finish.
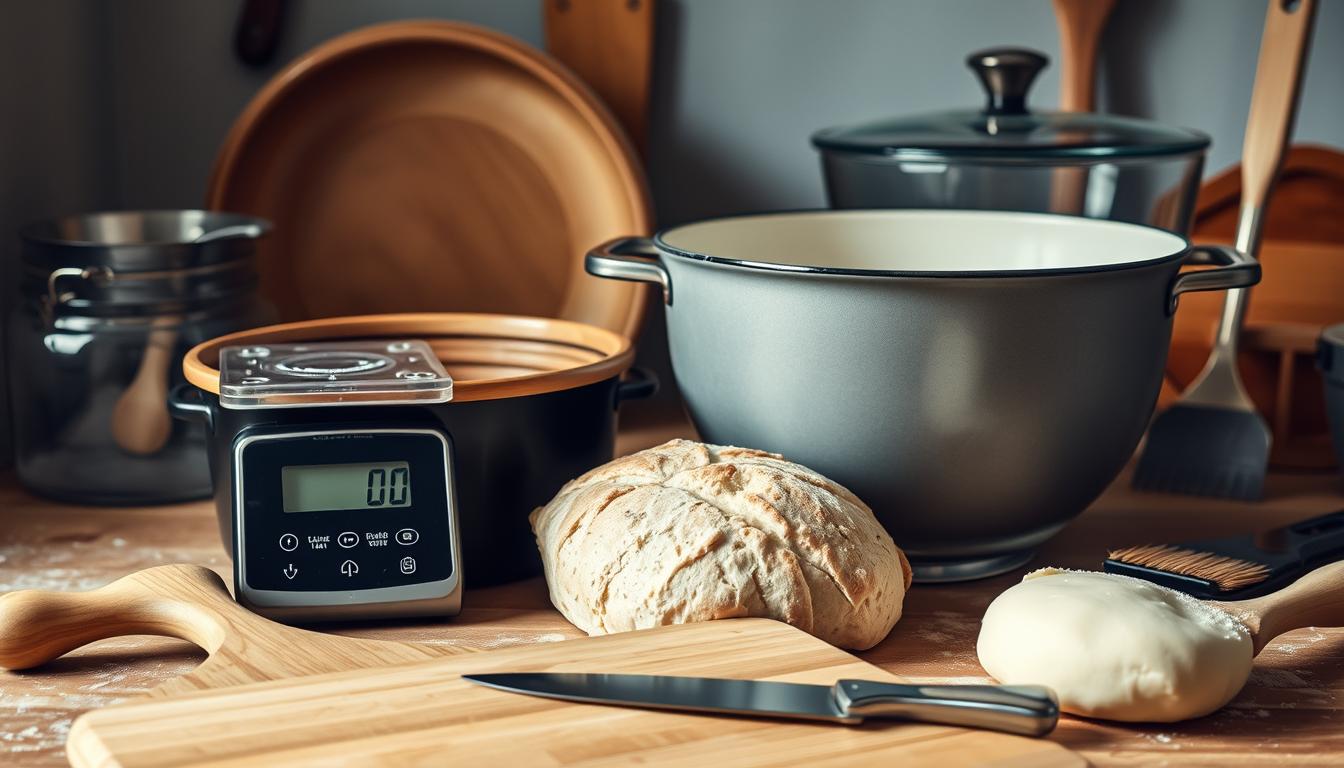
Other useful tools include a dough scraper for handling sticky dough and a lame or sharp knife for scoring your bread before baking. Investing in these essentials will set you up for success in your sourdough baking journey, making the process more enjoyable and the outcomes more consistent.
Ingredients for Perfect Sourdough Bread
Crafting the perfect sourdough bread begins with understanding the fundamental ingredients required for this traditional baking process. The basic components include bread flour, water, salt, and an active sourdough starter. Each of these ingredients plays a crucial role in the development of the bread’s flavor, texture, and structure.
The quality of the ingredients can significantly impact the final product. For instance, using a high-protein bread flour can enhance the bread’s chewiness and rise. Similarly, the temperature and quality of the water can affect the starter’s activity and, consequently, the fermentation process.
Measuring Ingredients Accurately
Accurate measurement of ingredients is vital in sourdough bread making. Precision is key to achieving the desired balance of flavors and textures. As
“The ratio of flour to water, the amount of salt, and the proportion of sourdough starter can make or break the bread.”
Thus, using a digital scale to measure ingredients by weight rather than volume ensures consistency and reliability in the recipe.
By focusing on the quality and measurement of the ingredients, bakers can significantly improve their sourdough bread making skills, leading to more consistent and delicious results. This attention to detail is a valuable sourdough bread making tip that aligns with traditional sourdough techniques.
Creating Your Sourdough Starter from Scratch
To start your sourdough journey, you’ll first need to create a sourdough starter, a natural yeast culture that’s the heart of sourdough baking. This process involves mixing flour and water and allowing the mixture to ferment, which attracts wild yeast and bacteria present in the environment and flour.
The initial step in creating your sourdough starter is to mix equal parts of flour and water in a clean container. It’s recommended to use a glass or ceramic container, as these materials don’t react with the acidic environment that develops during fermentation. Use a wooden spoon or spatula to mix until the flour is fully dissolved.
After mixing, cover the container with a cloth or plastic wrap to keep dust out and maintain a humid environment. Place it in a warm, draft-free area. The mixture will start to bubble and emit a sour smell within 24 to 48 hours, indicating the start of fermentation.
Over the next few days, you’ll need to feed your starter once a day by discarding half of it and adding fresh flour and water. This process, known as “refreshing” the starter, helps the natural yeast and bacteria to multiply. As you continue this daily routine, your starter will become more active, bubbly, and nearly double in size after feeding.
When Your Starter is Ready for Baking
Your sourdough starter is ready to use in baking when it becomes consistently active, nearly doubling in size within a few hours after feeding, and has a tangy aroma. This usually occurs after 7 to 10 days of regular feeding. At this stage, your starter is robust enough to leaven bread and can be used in your beginner sourdough guide recipes.
Maintaining a healthy sourdough starter is crucial for successful sourdough baking. With regular feeding and proper care, your starter will remain a vibrant, living component of your baking routine, ready to produce delicious sourdough bread whenever you want.
Maintaining Your Sourdough Starter
A well-maintained sourdough starter is the backbone of any successful sourdough bread recipe. Regular feedings are necessary to maintain the starter’s strength and ensure it remains healthy and active.
To keep your sourdough starter thriving, it’s essential to establish a consistent feeding schedule. This involves discarding a portion of the starter and feeding it fresh flour and water. The frequency of feeding depends on factors such as the starter’s maturity, temperature, and desired activity level.
Instead of discarding the sourdough starter, you can use it in various recipes, reducing waste and adding unique flavors to your baked goods. Some ideas include pancakes, waffles, and cakes. By incorporating the discard into your baking, you can create delicious treats while maintaining your sourdough starter.
For an easy sourdough recipe, it’s crucial to maintain a healthy sourdough starter. By following a consistent feeding schedule and using the discard in other recipes, you can ensure your starter remains active and robust, resulting in a perfect sourdough bread recipe.
The Ultimate Sourdough Bread Recipe
Artisan sourdough baking is a skill that can be developed by following a well-tested sourdough bread recipe and adjusting hydration levels accordingly. To start, you’ll need to mix the dough, allowing the flour to absorb the water fully, a process that is crucial for developing the dough’s structure. This initial step is known as autolyse.
After autolyse, you’ll proceed to mix the dough with your sourdough starter, salt, and any other ingredients your recipe calls for. The dough then undergoes a series of stretch and fold exercises during the bulk fermentation phase, which helps in developing the gluten and distributing the yeast evenly.
Adjusting Hydration for Beginners
One of the key factors in sourdough bread making is hydration. Beginners often find it challenging to determine the right hydration level for their dough. A good starting point is to use a recipe with a moderate hydration level, around 65-70%. As you gain more experience, you can adjust the hydration based on the environment and the specific characteristics of your flour and starter.
To adjust hydration, start by assessing the dough’s consistency. If it’s too dry, you can gradually add more water. Conversely, if the dough is too wet, you can add a bit more flour. The goal is to achieve a dough that is moist but not sticky, holding its shape well.
Once you’ve adjusted the hydration and completed the bulk fermentation, the next steps involve shaping your dough and allowing it to proof before baking. Shaping requires a gentle touch to preserve the air bubbles within the dough, which contribute to the bread’s texture and structure.
By following these steps and tips, you’ll be well on your way to creating delicious, artisan sourdough bread at home. Remember, practice makes perfect, and don’t be discouraged by initial failures – they’re an essential part of the learning process.
Mastering the Autolyse and Bulk Fermentation
Mastering the art of sourdough baking requires a deep understanding of two crucial processes: autolyse and bulk fermentation. Autolyse is the initial stage where flour and water are mixed together, allowing the flour to absorb the water fully. This process helps in developing the gluten in the dough, making it more extensible and easier to shape later on.
Following autolyse, the dough enters the bulk fermentation stage, where the sourdough starter is added. During this stage, the dough undergoes significant changes as the yeast and bacteria in the starter ferment the sugars, producing carbon dioxide and lactic acid. This process is crucial for the dough’s rise and development of flavor.
Temperature Considerations
Temperature plays a critical role in both autolyse and bulk fermentation. For autolyse, a warm and comfortable temperature (around 75°F to 78°F) is ideal, as it facilitates the hydration of the flour. During bulk fermentation, maintaining a consistent temperature is vital for the activity of the sourdough starter. Most sourdough starters thrive at temperatures between 75°F and 80°F, promoting healthy fermentation and dough development.
By mastering autolyse and bulk fermentation, and paying close attention to temperature, bakers can significantly improve the quality of their sourdough bread. These traditional sourdough techniques are fundamental to creating bread that is not only delicious but also has a satisfying texture and structure. Following proper sourdough starter instructions and understanding the role of temperature will help bakers achieve consistent results and refine their craft.
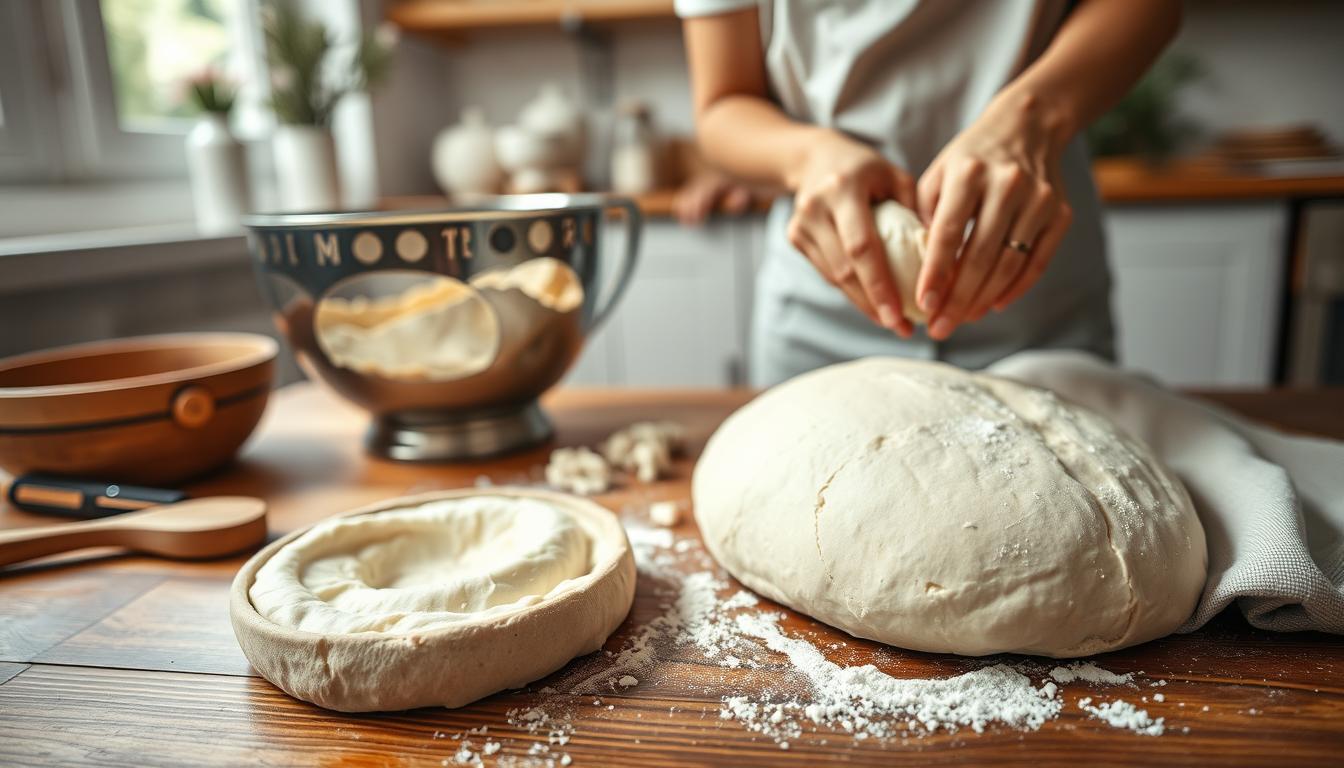
Shaping Your Sourdough Loaf
As you shape your sourdough loaf, you’re not just forming its shape, you’re building its character. This crucial step in artisan sourdough baking requires a gentle touch and an understanding of how to create tension in the dough.
Shaping involves folding the dough onto itself, creating a smooth, taut surface. This process is vital for achieving a good oven spring, as it allows the dough to hold its shape and expand evenly during baking. To shape your loaf effectively, you need to develop surface tension. This is achieved by gently stretching and folding the dough, creating a tight, smooth surface.
Building Surface Tension
Building surface tension is a delicate process. It requires a light touch to avoid tearing the dough. As you shape, focus on creating a consistent, smooth surface. This not only improves the appearance of your loaf but also enhances its texture and baking performance.
“The shaping of the dough is where the baker’s skill is most evident. It’s a moment that requires patience, attention to detail, and a deep understanding of the dough’s character.”
To achieve the perfect shape, practice is key. Don’t be discouraged by initial attempts – with time, you’ll develop the necessary skills to shape your sourdough loaves with confidence. Remember, shaping is a step that significantly influences the final outcome of your sourdough bread making endeavors.
By mastering the art of shaping and building surface tension, you’ll be well on your way to creating beautiful, artisan-quality sourdough bread that impresses with both its appearance and flavor.
The Cold Proof: Enhancing Flavor and Structure
Cold proofing is a technique used in sourdough baking that improves both the flavor and structure of the bread. By slowing down the fermentation process, the cold proof allows for a more complex flavor development, making your sourdough bread recipe stand out.
During the cold proof, the dough is placed in a refrigerator, where the cooler temperature slows down the yeast’s activity. This period, typically ranging from 12 to 48 hours, is crucial for developing the dough’s structure and enhancing its flavor profile. As a result, your homemade sourdough bread will have a more pronounced taste and a better texture.
The Poke Test for Readiness
To determine if your dough is ready after the cold proof, you can perform the poke test. Gently poke the dough with your finger; if it springs back slowly and leaves a slight indentation, it’s ready. If it springs back quickly, it may need more time. This simple test ensures that your dough has reached the optimal stage for shaping and baking, resulting in a superior sourdough bread recipe.
By incorporating a cold proof into your sourdough baking process, you’ll not only enhance the flavor but also make the dough easier to score, leading to a beautifully baked homemade sourdough bread.
Preparing to Bake: Scoring and Steaming
To achieve a perfectly baked sourdough loaf, it’s essential to master the art of scoring and creating steam during the baking process. Scoring, or cutting the bread before baking, allows steam to escape and controls how the bread expands in the oven.
Scoring Techniques: Traditional sourdough techniques involve making a few decisive cuts on the surface of the dough. This not only helps in managing the rise but also adds to the aesthetic appeal of the bread. The cuts can be simple or intricate, depending on the baker’s preference and skill level.
Steaming is another critical element in sourdough bread making. It can be achieved by using a Dutch oven, which traps the steam around the bread, or by injecting steam into the oven. This step is crucial for developing the crust and giving the bread its characteristic texture and flavor.
By mastering scoring and steaming, bakers can significantly improve their sourdough bread making skills, resulting in a more authentic and delicious loaf. These traditional sourdough techniques are worth practicing to achieve the perfect bake.
Baking Your First Sourdough Bread
With your sourdough loaf shaped and proofed, it’s time to bake, a step that transforms the dough into a crusty, flavorful bread. This crucial phase requires attention to detail, particularly when it comes to temperature and timing.
Preheat your oven to 450°F (230°C) with a Dutch oven inside. The Dutch oven is essential for creating a steamy environment that helps your sourdough develop a beautiful crust. Once the oven is preheated, carefully place your proofed sourdough loaf inside the Dutch oven.
Cover the Dutch oven with its lid and bake for 25-30 minutes. This initial baking phase with the lid on helps to create a tender crumb and a crispy crust. Removing the lid at the right time is crucial for achieving the perfect bake.
Removing the Lid at the Right Time
After 25-30 minutes of baking with the lid on, it’s time to remove it. This allows the bread to brown and develop a more complex flavor. Continue baking for an additional 15-20 minutes, or until your sourdough bread is golden brown.
As a beginner, following a reliable sourdough bread recipe and beginner sourdough guide can help you navigate the baking process. Remember, practice makes perfect, so don’t be discouraged if your first loaf isn’t ideal. With time and experience, you’ll refine your technique and produce delicious sourdough bread that impresses family and friends.
Cooling and Storing Your Sourdough
The final step in your easy sourdough recipe journey is cooling and storing your freshly baked loaf. After the anticipation of baking, it’s crucial to let your homemade sourdough bread cool properly to enjoy its full flavor and texture.
To cool your sourdough, transfer it to a wire rack. This allows air to circulate around the bread, preventing it from becoming soggy. Let it cool for at least an hour before slicing to allow the interior to set.
For storing, you have a couple of options. You can store your sourdough at room temperature, wrapped in a cloth or paper bag, for up to 3 days. For longer storage, consider freezing the bread. Wrap it tightly in plastic wrap or aluminum foil and store it in a freezer-safe bag.
By following these simple steps, you can enjoy your homemade sourdough bread over a longer period, maintaining its freshness and flavor.
Beginner-Friendly Sourdough Variations
As you master the basic sourdough bread recipe, it’s time to get creative with new flavors and ingredients. Experimenting with different add-ins is a great way to personalize your sourdough and make it more exciting.
One of the simplest ways to vary your sourdough is by adding herbs. Fresh or dried herbs like rosemary, thyme, or oregano can add a unique flavor dimension to your bread. When using herbs, start with a small amount (about 1-2% of the total dough weight) to avoid overpowering the natural sourdough flavor.
Adjusting Recipes for Add-ins
When incorporating add-ins like cheese, nuts, or dried fruits, it’s essential to adjust the recipe accordingly. For instance, adding cheese can increase the moisture content, so you may need to adjust the hydration levels or add a bit more flour. Similarly, nuts or seeds can add extra texture and flavor, but be mindful of their impact on the dough’s overall hydration.
Tips for Successful Add-ins: Fold in your add-ins gently during the bulk fermentation stage to avoid overmixing the dough. Also, be aware of the flavor profile you’re aiming for and adjust the quantity of add-ins accordingly.
“The discovery of a new dish does more for human happiness than the discovery of a new star.” – Jean Anthelme Brillat-Savarin
Artisan sourdough baking is all about experimentation and creativity. Don’t be afraid to try new combinations of ingredients and flavors. With practice, you’ll develop your own signature sourdough recipes that reflect your personal taste preferences.
Some popular variations include whole wheat sourdough, rye sourdough, and sourdough with olives or sun-dried tomatoes. Feel free to explore these options and adjust them to your liking. Remember, the key to successful sourdough baking is patience and practice.
Troubleshooting Common Sourdough Problems
As you embark on your sourdough baking journey, encountering issues is inevitable, but understanding how to troubleshoot them can elevate your baking skills.
Common issues in sourdough baking include over-proofing, under-proofing, and a dense crumb. Over-proofing occurs when the dough is allowed to ferment for too long, causing it to collapse during baking. To avoid this, monitor your dough’s progress closely, and be prepared to shape it when it has reached the optimal stage of fermentation.
Under-proofing is another issue, where the dough hasn’t fermented enough, leading to a dense or flat loaf. Ensuring your sourdough starter is healthy and active, and giving the dough sufficient time to ferment, can help mitigate this problem.
Learning from Mistakes
A dense crumb can result from a variety of factors, including insufficient hydration, inadequate mixing, or incorrect baking temperatures. By understanding the causes of these issues and adjusting your techniques accordingly, you can improve the quality of your sourdough bread.
Following sourdough starter instructions carefully and mastering traditional sourdough techniques are key to avoiding common pitfalls. Regularly maintaining your sourdough starter, being patient during the fermentation process, and paying attention to the details of your baking process will help you achieve a better loaf.
By troubleshooting and learning from your mistakes, you’ll refine your sourdough baking skills, leading to more consistent and delicious results.
Conclusion: Your Journey to Sourdough Mastery
Mastering the art of sourdough bread baking is a rewarding journey that requires patience, practice, and dedication. With the sourdough bread recipe and techniques outlined in this beginner sourdough guide, you’re well on your way to creating delicious, crusty loaves that will impress family and friends.
As you continue to bake and experiment with different flavors and ingredients, you’ll develop a deeper understanding of the sourdough process and refine your skills. Don’t be discouraged by initial setbacks or inconsistent results – with practice, anyone can become proficient in making sourdough bread.
The key to success lies in persistence and a willingness to learn from your mistakes. By following the steps outlined in this guide and staying committed to your craft, you’ll soon be creating beautiful, delicious sourdough bread that rivals that of professional bakers. So, keep practicing, and enjoy the journey to sourdough mastery.
FAQ
What is sourdough bread and how is it different from regular bread?
Sourdough bread is made using a natural starter culture instead of commercial yeast, giving it a unique flavor and texture. The lactic acid produced during fermentation contributes to its characteristic tanginess and chewy crumb.
How long does it take to create a sourdough starter from scratch?
Creating a sourdough starter from scratch typically takes around 7-10 days, depending on factors like temperature, flour type, and feeding schedule.
What are the essential ingredients for making sourdough bread?
The essential ingredients for making sourdough bread are flour, water, salt, and a sourdough starter. Using high-quality ingredients and accurate measurements is crucial for achieving the best results.
How do I maintain my sourdough starter?
To maintain your sourdough starter, you need to feed it regularly, typically once a day, using a mixture of flour and water. You can also store it in the refrigerator to slow down its activity and use the discard in various recipes.
What is the autolyse process in sourdough bread making?
Autolyse is a step in sourdough bread making where flour and water are mixed together before adding the sourdough starter and salt. This process helps to break down the flour, improving dough texture and flavor.
Why is a cold proof important in sourdough bread making?
A cold proof, also known as a retarded proof, allows the dough to ferment slowly in the refrigerator, enhancing the bread’s flavor and making it easier to score. This step also helps to develop the dough’s structure.
How do I score my sourdough bread?
Scoring your sourdough bread involves making a few strategic cuts on the surface of the dough before baking. This helps to control the way the bread expands during baking and creates a more visually appealing crust.
What is the best way to store sourdough bread?
To keep sourdough bread fresh, it’s best to store it at room temperature, away from direct sunlight, and in a paper bag or bread box. Avoid storing it in airtight containers or plastic bags, as this can cause the bread to become soggy.
Can I adjust the sourdough bread recipe to include add-ins like nuts or dried fruits?
Yes, you can adjust the sourdough bread recipe to include add-ins like nuts or dried fruits. Simply fold the add-ins into the dough during the bulk fermentation stage, being mindful of the dough’s hydration level and adjusting as needed.
What are some common problems encountered in sourdough baking, and how can I troubleshoot them?
Common problems in sourdough baking include over-proofing, under-proofing, and poor crust development. To troubleshoot these issues, check your dough’s temperature, proofing time, and shaping technique, and adjust your recipe and process accordingly.
How can I achieve a better oven spring in my sourdough bread?
To achieve a better oven spring, make sure to develop sufficient surface tension during shaping, score your bread effectively, and create steam during baking. A hot oven and a preheated baking stone or Dutch oven can also help.
Can I make sourdough bread without a Dutch oven?
Yes, you can make sourdough bread without a Dutch oven. Alternative methods for creating steam include using a steamer basket, a pot with a lid, or even a DIY steamy setup.